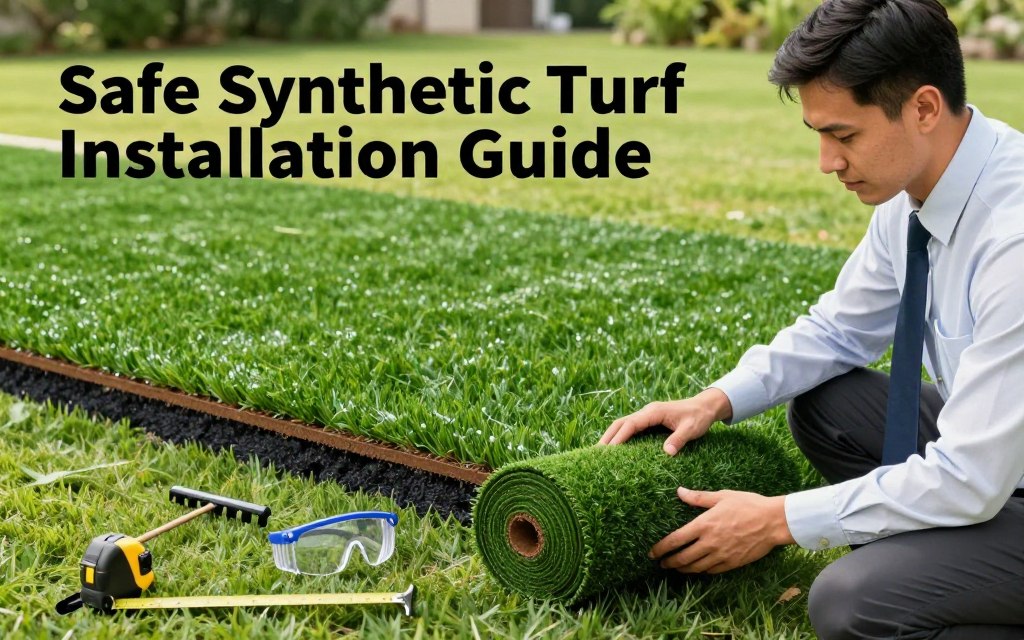
Tag: Safe Synthetic Grass Guide

Safe Synthetic Turf Installation: The 2026 Non-Toxic Guide

Have you ever wondered if the grass in your yard could be safer for your family and pets? With the rise of artificial grass, many homeowners are considering a shift to this innovative solution. This guide will provide you with essential insights into safe synthetic turf installation for 2026.

Artificial grass offers a non-toxic, pet-friendly, and kid-friendly alternative to traditional lawns, lasting up to 15 years with proper care. Choosing non-toxic materials is crucial for ensuring a safe environment for your loved ones. Understanding the installation process is vital to maintaining the beauty and durability of your new lawn.

In this guide, we will cover everything from site preparation to the final grooming of your new grass surface. By following these professional guidelines, you can enjoy a lush, green yard without the constant need for watering or chemical fertilizers. For more information on safe materials, check out lead-free options and installation tips.

Key Takeaways

  • This guide offers a comprehensive overview of synthetic turf installation for homeowners.
  • Choosing non-toxic materials is essential for family and pet safety.
  • Proper installation ensures long-lasting beauty and durability.
  • Detailed instructions cover all steps from preparation to grooming.
  • Achieve a green look without constant watering or chemicals.

Introduction to Non-Toxic Turf Solutions

What if the grass in your yard could offer a healthier environment for everyone? The benefits of modern artificial grass are significant. Extensive testing shows no elevated health risks for children or adults playing on contemporary turf fields. This means you can enjoy a safe space for your family and pets.

Today, many homeowners are prioritizing non-toxic installation methods. In 2026, it’s crucial to ensure your yard remains a healthy environment. Modern artificial grass is made from non-toxic nylon or plastic materials, making it safe for everyone to enjoy.

Choosing the right product helps avoid past concerns related to older crumb rubber infill. A well-planned project provides a durable, low-maintenance surface, eliminating the need for harmful pesticides or herbicides. Always select high-quality materials that meet current safety standards for both residential and commercial landscapes.

A vibrant and inviting landscape showcasing a lush, non-toxic synthetic turf installation in a sunny residential backyard. In the foreground, a neatly trimmed green turf area with a family happily playing together, dressed in modest, casual clothing. In the middle, a comfortably designed outdoor space with a wooden deck, stylish patio furniture, and potted plants surrounding the turf. In the background, a clear blue sky with soft, fluffy clouds enhances the cheerful mood. Soft sunlight filters through, casting warm, gentle shadows that bring ambiance and depth to the scene. The perspective is slightly elevated, providing a comprehensive view of this safe and eco-friendly turf solution that radiates health and joy.

Preparing Your Yard for a Synthetic Turf Project

Is your yard ready for a transformation into a vibrant, green space? Preparing your outdoor area is essential for a successful project. Start by removing all existing grass and weeds. This ensures a clean, level surface for your new lawn.

Next, it’s important to cap any unused irrigation pipes at the pipe level. This prevents future water leakage that could damage your installation. When working with electrical wiring or sprinkler lines, move them six to eight inches inward from the hardscape. This will help avoid accidental damage during the project.

Properly grading the soil is also crucial. This allows for better drainage and prevents low spots that can collect water. Lastly, applying a weed barrier or treatment can help stop unwanted weeds from growing through your new grass surface.

A lush, well-maintained backyard is being prepared for the installation of synthetic turf. In the foreground, a professional landscaper, dressed in modest casual clothing, is surveying the yard with measuring tools in hand. The middle layer features neatly piled soil and gravel, alongside essential installation materials like rolls of synthetic grass and landscape fabric. In the background, tall trees cast dappled sunlight across the space, creating a serene atmosphere. The lighting is bright and natural, suggesting a sunny day, with shadows adding depth. The angle of the shot captures both the setup process and the inviting beauty of the yard, conveying a sense of readiness and professionalism for the synthetic turf project.

Laying a Solid Turf Base and Ensuring Proper Drainage

Are you ready to create a strong foundation for your new lawn? A reliable base is essential for a successful project. Start by installing a three-inch layer of gravel and sand mixture. This will provide a firm, well-draining surface for your grass.

After spreading the base material, it’s crucial to level and compact it properly. Use a plate compactor or heavy-duty roller to ensure the base is even and firm. This step prevents any uneven areas that could affect the appearance of your new lawn.

Additionally, make sure the base slopes away from living areas and directs water toward designated drainage points. Wetting the base material before final compaction helps it settle into a stable surface. Always double-check for any high or low spots after compacting to ensure a smooth finish.

A close-up view of a professional landscaping crew laying a solid base for synthetic turf, demonstrating proper drainage techniques. In the foreground, workers wearing modest casual clothing are carefully compacting gravel with tools to create an even surface. The middle ground features a lush green synthetic turf awaiting installation, with clear drainage channels visible underneath. In the background, a bright blue sky contrasts with the earthy tones of the construction site, emphasizing a vibrant, outdoor atmosphere. Soft natural light illuminates the scene, creating an inviting and professional mood. The image is captured from a low angle to highlight the detailed work involved in preparing a solid foundation for grass, ensuring clarity and focus on the installation process.

Mastering Synthetic Turf Installation Techniques

Are you excited to take your lawn project to the next level with effective installation techniques? Installing artificial grass can be a rewarding DIY project if you follow the right steps. A well-executed process not only enhances the look of your yard but also ensures durability.

Here are some essential steps to consider:

  • When you install artificial grass, ensure all rolls are laid in the same direction for a consistent and natural look.
  • The installation process requires careful planning, especially when measuring your yard to minimize waste and ensure a perfect fit for every piece.
  • After unrolling the turf, let it sit for three hours to allow the material to relax and settle flat against the prepared surface.
  • If you are a DIY enthusiast, following each step of the installation guide will help you achieve a professional-looking result without hiring contractors.
  • Always verify that the backing of the turf is not tight against walls or fences to allow for natural expansion and contraction over time.

To further enhance your understanding, here’s a table summarizing the key steps:

Step Description Time Required
Preparation Measure and clear the area for installation. 1-2 hours
Unrolling Unroll the grass and let it settle. 3 hours
Alignment Ensure all rolls are aligned correctly. 30 minutes
Final Adjustments Check for tightness against walls. 1 hour

A skilled technician installing synthetic turf in a residential yard, focused on precision and technique. In the foreground, the technician, dressed in professional work attire, uses a turf cutting tool to shape the grass. The middle section shows a perfectly laid synthetic lawn, with bright green blades glistening under soft afternoon sunlight. In the background, a well-maintained garden adds depth, showcasing native plants and flowers, enhancing the natural feel of the space. The scene is captured with a shallow depth of field, highlighting the technician's detailed work while softly blurring the background. The overall mood is one of professionalism and expertise, evoking a sense of meticulous care in the installation process.

Precision Cutting, Seaming, and Edge Tucking

Achieving a seamless look for your lawn starts with careful trimming. Proper cutting and securing of edges is vital for a polished finish. You want your grass to look natural and inviting, so precision is key.

Use a sharp utility knife to trim the edges of your grass, ensuring you leave a small gap of 1/8 inch from any hardscape. This will help maintain a clean, professional fit. When you seam two pieces together, utilize a seaming tool to butt the edges tightly. Secure them with U-nails every six inches for stability.

For the best results, drive nails down three-quarters of the way into the ground. Be sure to separate the grass blades so the nails remain hidden. For commercial applications, place nails three to five inches on center to provide extra stability along high-traffic perimeter edges.

Tucking the grass against a border using a wonder bar creates a clean, plush look that hides the backing and raw edges. This finishing touch is essential for achieving a seamless appearance.

A lush, meticulously installed synthetic turf area showcasing precision cutting and seaming techniques. In the foreground, a skilled professional in smart casual attire is carefully using specialized tools to seamlessly cut and seam the turf edges, highlighting details like sharp scissors and a straight edge. The middle ground features a vibrant green turf laid out with precise seams, demonstrating the quality of installation and attention to detail. The background presents a clear blue sky and neatly trimmed landscaping, creating a serene and professional atmosphere. Soft, natural lighting enhances the colors and textures of the turf, conveying an image of high-quality craftsmanship in a safe and non-toxic setting.

For more tips on combining irrigation with your grass project, check out this guide.

Applying Infill and Grooming for a Natural Look

Transforming your lawn into a vibrant green space requires careful attention to detail. One critical step in this process is applying infill. This material adds weight to the grass and helps the blades stand upright, enhancing the overall appearance.

For optimal results, apply approximately 1 lb of infill per square foot. Use a grain shovel to distribute it evenly across the surface, ensuring complete coverage of the area. This will help the grass maintain its natural look.

Choosing the Right Infill Material and Application Tips

A power broom is an excellent tool for grooming your grass. Brush against the grain to help the infill settle deep into the backing. This technique ensures stability and a lush appearance. Be gentle; firm downward pressure is enough to fluff the blades without damaging them.

Using Power Brooms to Achieve a Lush Appearance

After the initial application, lightly brush the surface again. This will ensure the infill is settled properly and that your grass looks fresh and inviting. With these steps, your lawn will not only look great but also feel comfortable for your family and pets.

Tools and Materials for a Flawless Turf Installation

Are you equipped with the right tools to make your grass installation seamless? Having the essential tools and materials is crucial for a successful project. Start by gathering high-quality artificial grass and appropriate infill. These are the first steps toward a beautiful lawn.

Essential tools include:

  • A rake for leveling the surface.
  • A hammer and utility knife for cutting and securing edges.
  • A wheelbarrow to transport heavy materials.
  • A compactor to ensure a solid base.
  • A power broom for final grooming.

When preparing for installation, consider these safety tips:

  • Use galvanized nails or U-staples to secure the grass firmly.
  • Always wear gloves when handling sharp tools.
  • Keep the work area clear of debris to prevent accidents.

Maintenance and Long-Term Care for Your Turf

To keep your yard looking its best, regular maintenance is essential. Artificial grass can last up to 15 years with proper care. This includes weekly rinsing and monthly brushing to keep the blades upright and vibrant.

Weekly Upkeep Routines

Weekly maintenance involves lightly rinsing your lawn with a hose. This helps remove dust, dirt, and any debris that may have accumulated. If you have pets, be sure to clean up waste promptly and hose down the area to keep the grass fresh and sanitary.

Monthly Strategies for Freshness

Monthly upkeep requires using a broom to sweep against the natural grain of the grass. This helps keep the blades standing tall. Regularly inspecting the perimeter edges for loose nails or shifting grass ensures your project remains safe and secure over time.

By following these simple maintenance routines, you can enjoy a beautiful, low-maintenance lawn that stays clean and pest-free for many years. For more information on landscaping options, check out this resource.

Conclusion

Imagine transforming your outdoor space into a beautiful, low-maintenance oasis for your family. Installing artificial grass is a straightforward process that can greatly enhance your yard’s appeal. Proper planning and preparation are essential steps to ensure a successful project.

In 2023, the average cost for professional installation ranged from $10 to $13 per square foot, including labor. Whether you choose to tackle the installation yourself or hire a professional, selecting the right materials is crucial. Remember to choose the appropriate infill and follow each step of this guide to maintain a safe and durable lawn.

With the right tools and a bit of effort, you can achieve a stunning landscape that will last for years. We hope this guide has equipped you with the knowledge to confidently embark on your artificial grass project.

Tags: , , , , , ,