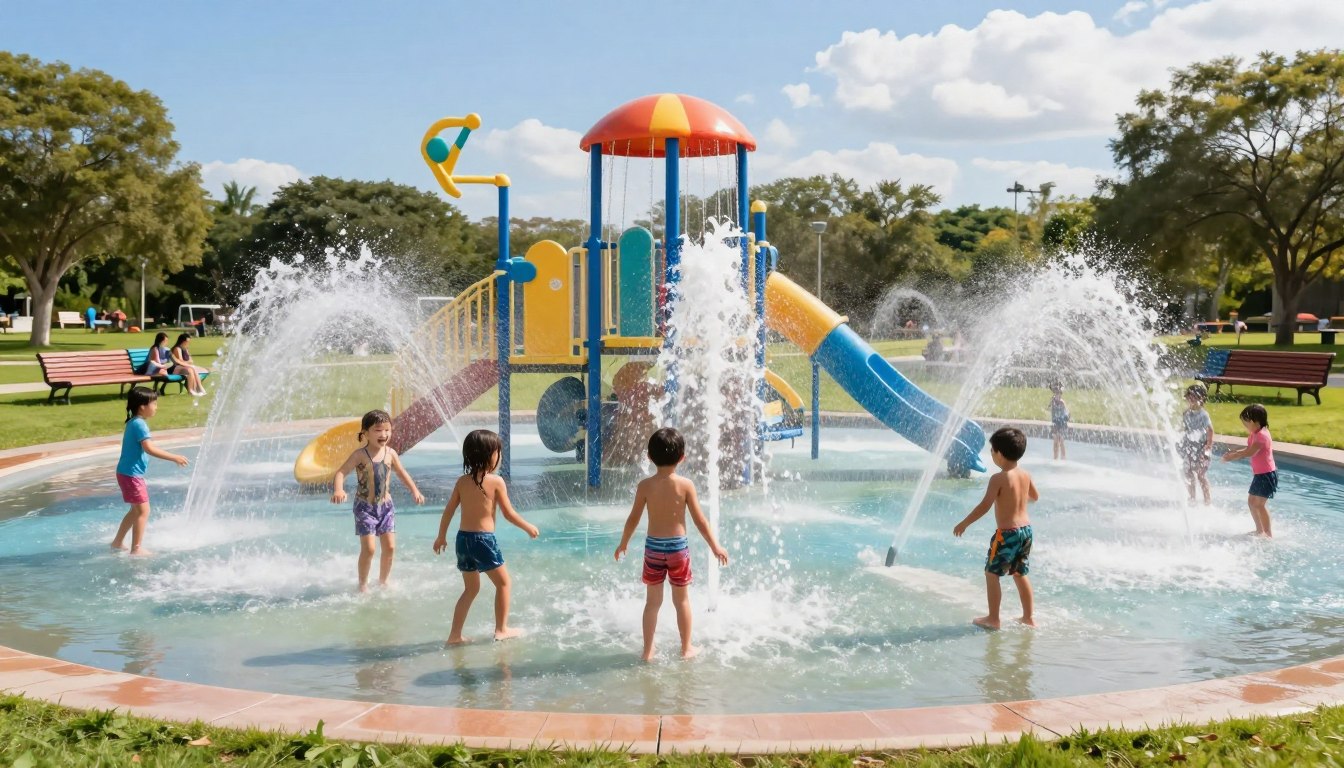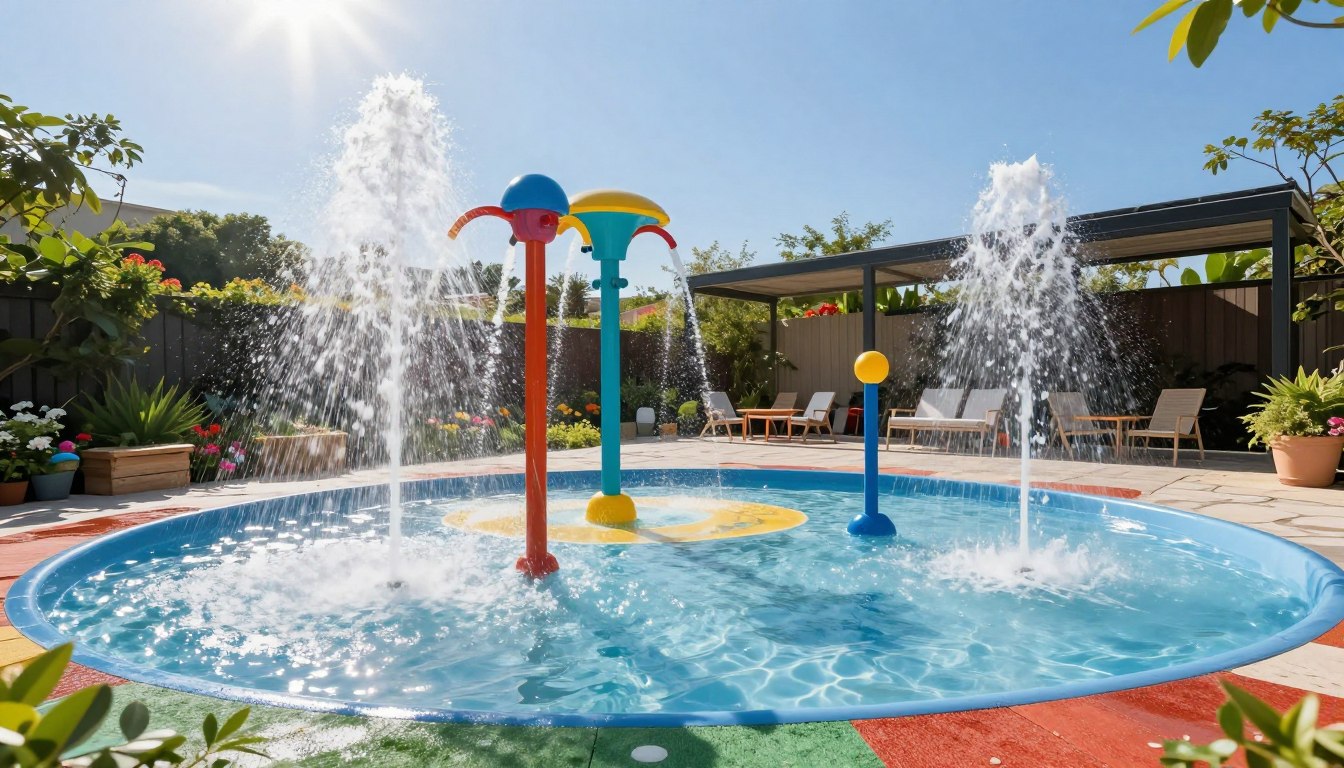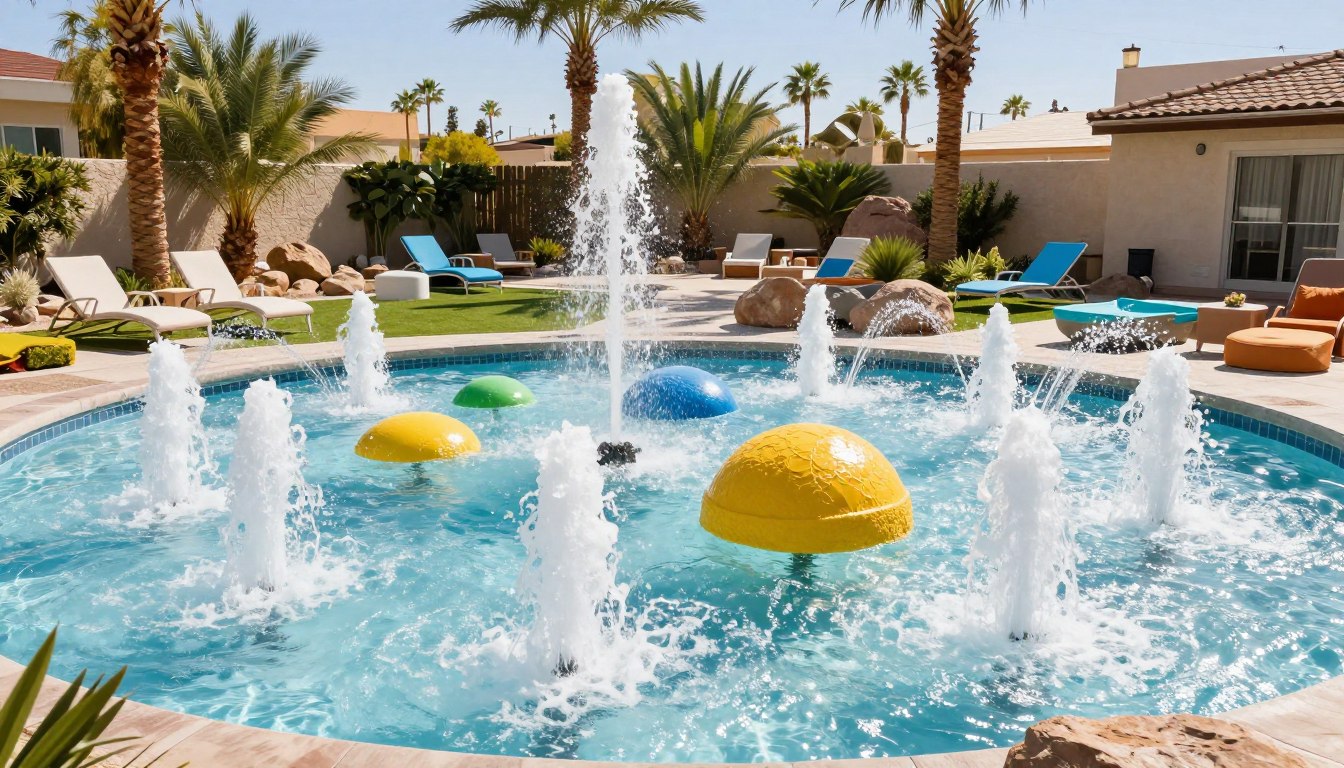

Could an ordinary yard become a cool retreat without the cost of a full pool? A well-planned backyard splash pad ideas project can turn that question into a practical weekend upgrade.
Many DIY water-play projects take one afternoon or two. Building the feature yourself can also save money compared with hiring a professional installer. An oversized kiddie pool or above-ground pool offers a simple starting point for family fun on a hot summer day.
This guide explores flexible options for a United States home, including tarps, PVC frames, garden hoses, shallow basins, and temporary setups. These materials let you adjust the layout as kids grow or seasons change.
Safety comes first. You will learn how to choose slip-resistant surfaces, plan drainage, manage water pressure, and decide whether a pump, filter, or timer fits your setup. We will also cover cleaning, storage, and daily checks, so your summer water feature stays fun, useful, and easy to manage.
Backyard Splash Pad Ideas for Family-Friendly Summer Fun

A compact water feature can turn a small outdoor space into a cool retreat for the whole family. These DIY options suit children and adults, while simple materials keep the project affordable. Choose a flexible design for daily use, or create a colorful setup that stores easily after summer.
DIY Splash Pad Designs for Small Backyards
For a simple tarp design, use about two yards of durable material, four pool noodles, tent stakes, and screws. The noodles create soft edges and help define a comfortable play zone. Secure each corner well, then connect a garden hose for gentle water flow.
An oversized kiddie pool or an above-ground pool offers another easy choice. It provides more room for shared play and needs little assembly. Both layouts create low-cost summer fun without a professionally installed system.
Creative Features Kids Love
Add spray nozzles, a sprinkler arch, floating toys, or a shallow section to support creativity. Bright shapes and changing water patterns make the experience feel new. This is one way to keep kids active during a hot summer while adults join the fun.
| Design | Best For | Main Materials | Setup Benefit |
|---|---|---|---|
| Tarp layout | Small spaces | Tarp, noodles, stakes | Easy to store |
| Kiddie pool | Shared play | Pool, hose, toys | Quick assembly |
| Sprinkler arch | Active play | PVC, hose, nozzles | Encourages movement |
Planning the Best Splash Pad Backyard Layout
Start with a level area that gives your family clear movement and steady supervision. Measure the site before buying materials. Keep the setup away from fences, electrical equipment, fragile plants, and doors that lead into the home.
Choosing the Right Location and Available Space
A compact design can measure 3 feet wide and 14 feet across from zone one to zone three. This footprint works well when space is limited. Leave room around the edge for walking, seating, and safe access during summer heat.
Designing Water Zones and Play Areas
A larger 4-foot-wide layout can reach 20 feet from the first zone to the third. Use one area for spray, one for walking, and one for cooling. This arrangement helps kids move without crowding other users.
- Mark each zone with chalk or garden stakes.
- Direct runoff away from the foundation.
- Keep sight lines open for family supervision.
Burke Crenshaw’s construction project shows why careful measurements matter. Use this planning method to create a DIY splash feature that fits the home, supports safe circulation, and remains easy to adjust.
Materials and Tools for a DIY Splash Pad

The right supplies make assembly safer and cleanup easier. Choose durable materials that fit your layout, water source, and storage space. This DIY splash pad guide can help you compare simple builds before shopping.
PVC Pipes, Connectors, and End Caps
A frame needs PVC pipes, connectors, end caps, PVC glue, a drill, and a saw. Measure each pipe before cutting. Seal open ends to control flow and reduce sharp edges.
Tarps, Pool Noodles, Stakes, and Waterproof Liners
For a temporary design, gather a tarp, four pool noodles, screws, and tent stakes. One large option uses a 16-by-20-foot tarp, 100 feet of clothesline, four fat noodles, and 15 stakes. Add a waterproof liner when the ground needs extra protection.
Hoses, Pumps, Filters, and Spray Nozzles
Match the hose to a fresh-fill system, or add a pump, filter, timer, and spray nozzle for recirculation. Check every plastic part for cracks before use.
- Store dry PVC pipes and connectors indoors.
- Replace worn tarps, liners, or hoses.
- Test pressure before children enter the play area.
How to Build a Tarp and Pool Noodle Splash Pad

A soft-sided water feature offers a simple way to cool kids during summer. This DIY project uses common supplies and can be packed away after use. Follow each step before turning on the hose.
Creating Soft, Secure Edges
Lay a 16-by-20-foot tarp on a flat surface. Place four fat pool noodles around its outer edge. Join the noodles with 100 feet of clothesline, then use 15 tent stakes to limit movement.
Sew the tarp to the noodles with a machine, or stitch it by hand. Keep the fabric smooth and cover every fastener. Screws may help hold sections in place, but no sharp point should face the play area.
Adding Water Holes and Connecting the Hose
Mark small holes in controlled locations along the tarp. Make splash spray openings with a heated tool, then inspect each cut for rough edges. Add only a few holes at first so pressure stays gentle.
Connect the hose and test the flow without children nearby. Check folded fabric, loose stakes, shifting borders, and shallow water depth. For more guidance, review this DIY splash pad tutorial.
- Keep the surface flat and free of debris.
- Remove the stakes before folding the tarp.
- Supervise kids during every use.
| Item | Quantity | Purpose |
|---|---|---|
| Tarp | 16 by 20 feet | Creates the play surface |
| Pool noodles | Four fat noodles | Forms soft borders |
| Clothesline and stakes | 100 feet and 15 stakes | Secures the edge |
Building a PVC Pipe Splash Pad

A lightweight PVC frame can create controlled water play in about an hour. This approach suits beginners who want a temporary setup without electricity or permanent plumbing.
Assembling the PVC Frame
Measure and cut the PVC pipes to match the planned pipe layout. Dry-fit the PVC pipes, connectors, and PVC end caps before securing each joint. Shape the PVC frame like a small tent, then check that every side rests firmly on the ground.
This DIY splash pad needs only basic materials and a hose or pump. Keep the PVC joints loose during the first fit. That makes it easier to adjust the height and angle of each spray section.
- Cut matching PVC sections.
- Connect the frame without glue.
- Attach end caps to open ends.
- Set the frame inside the play zone.
Drilling Spray Holes and Testing Water Flow
Drill one small hole at first, then compare upward, sideways, and downward spray patterns. If water pressure shifts a joint, add a tiny opening at the connection angle. Turn on the pump and inspect leaks, reach, joint strength, and flow.
- Confirm the spray stays within the play area.
- Reduce pressure if the stream feels harsh.
- Move the frame if runoff travels toward the home.
Safety Surfaces and Drainage for Backyard Water Play

Good traction and smart runoff planning protect children, property, and the play area. Summer water can make a surface slick in minutes, so choose materials that stay stable when wet.
Non-Slip Surface Options
Grass feels soft and drains well, but it may develop mud or uneven spots. Textured outdoor mats offer better grip and can move when needed. Sealed concrete lasts longer, yet it needs a broom-finished or coated texture for traction.
Rubber tiles provide cushioning and steady footing. They also suit a DIY setup because installers can replace one damaged section. Keep plastic toys and pool accessories away from walking paths to reduce trip hazards.
Preventing Standing Water, Cracks, and Weeds
Give the site a gentle slope that leads runoff away from the home. A removable liner can guide flow toward a safe drain and limit moisture near the foundation. Never allow deep water to collect beneath the surface.
- Inspect cracks after heat exposure.
- Remove weeds before roots widen gaps.
- Keep water shallow and supervise children.
- Follow local safety codes before use.
For larger projects, review professional surface planning to compare drainage and safety choices.
Backyard Recirculating Splash Pad Water Systems
A recirculating water system can extend play while reducing waste. It suits a backyard setup when a family wants steady flow without refilling the basin after every use. A waterproof liner, PVC piping, PVC glue, drill, saw, pump, and spray nozzle form the core parts.
How Pumps, Filters, and Timers Work Together
The pump moves water from the lined reservoir to the spray features. A filter traps leaves, grit, and other debris before the water returns to the play area. Timers set run periods, which helps control power use and operating time.
To activate a DIY splash pad, open the water source and turn on the power. Adjust pressure and flow slowly. Inspect each joint, nozzle, and liner for leaks or equipment problems before children enter.
Fresh-Fill Systems Versus Recirculating Water
A fresh-fill design has fewer parts and works well for short sessions. However, it uses more water and may suit a small family best. One cited recirculating splash pad design runs for up to 36 hours before a refill, but that figure is not universal. Filter care and regular water-quality checks remain essential during a hot summer.
Simple Splash Pad Ideas Without Permanent Plumbing
Temporary water play can bring relief on a hot summer day without a major construction project. A garden hose, lawn sprinkler, tarp, or portable pool can create a flexible backyard setup that moves when your needs change.
Garden Hose and Sprinkler Setups
A PVC frame for kids needs no electricity or permanent plumbing. Connect it to a hose, then adjust the spray until the flow feels gentle. A tarp beneath the feature can protect grass and define the play area.
Place sprinkler heads so water reaches the center without soaking outlets, doors, or fragile plants. Keep the hose along an outer edge, where adults can see it and children will not trip.
This DIY approach offers a quick way to keep kids active for an afternoon or weekend. Review these creative home water designs for layout inspiration, or explore this outdoor water feature guide.
- Use shallow water and low pressure.
- Choose a textured surface for traction.
- Inspect connections before children enter.
- Supervise every portable feature.
Bird Splash Pad Ideas for Gardens and Patios
A bird splash pad brings useful wildlife activity to a quiet garden corner. A shallow plastic tote, fountain pump, short tubing, and small fountain heads can form a simple DIY feature. Birds may use it for bathing, drinking, feather care, and hydration.
Keep the basin stable on a patio or backyard edge. Choose a site where family members can watch birds without crowding them. Gentle flow works better than strong spray, and shallow water helps visiting birds stand safely.
This private bird splash pad differs from the Perry Park Pool Splash Pad in Indianapolis, Indiana. That public pool feature sits beside the outdoor pool’s zero-depth entry. A garden unit serves wildlife instead of kids using a recreation pool.
- Refill with fresh water often, especially in summer.
- Rinse the basin to remove waste, algae, and debris.
- Place stones inside for secure footing.
- Turn off the pump during cleaning or cold weather.
Keep the feature away from food areas and dense cover where predators may hide. Regular care protects birds and keeps this attractive addition suitable for any home.
Maintenance, Water Quality, and Summer Safety
A reliable maintenance routine keeps family water play clean, stable, and ready for use. Before each session, inspect the hose, PVC joints, spray holes, pump, filter, and liner. Look for leaks, cracks, loose fittings, or unusual sounds. Repair each problem before anyone enters the play area.
Checking for Leaks and Equipment Problems
Turn on the system briefly and watch the flow. Adjust pressure until every feature works evenly. Stop the system if a stream becomes harsh or unpredictable. A recirculating unit may operate for up to 36 hours before refill, but that limit does not replace cleaning or water-quality checks.
Supervising Kids and Managing Water Pressure
An adult should watch kids continuously. Keep the level shallow, remove trip hazards, and use a non-slip surface. Good drainage also protects soil, foundations, and nearby plants.
Cleaning, Storing, and Protecting Materials
After summer use, rinse and dry tarps, noodles, hoses, and PVC parts. Store them away from heat, moisture, and sharp tools. For additional maintenance guidance, follow local safety rules.
| Check | When | Purpose |
|---|---|---|
| Leaks and fittings | Before use | Prevent failures |
| Pressure and depth | During play | Support safe use |
| Cleaning and storage | After use | Extend material life |
Conclusion
Plan each backyard feature around available space, family routines, drainage, and expected summer use. A splash pad can stay simple with a tarp, hose, or sprinkler, or become a sturdier PVC DIY build.
Safety depends on more than shallow water. Choose a slip-resistant surface, secure the edges, control pressure, and guide runoff away from the home. Active adult supervision remains essential whenever kids play.
For longer sessions, pumps, filters, timers, and a waterproof liner support recirculation. A fresh-fill hose may suit occasional use. For professional splash pad guidance, review surface curing, drainage, and care standards.
Inspect equipment often, then clean, dry, and store it after use. Antonio Mercado’s source material shows how practical supplies, careful planning, and basic skills can create lasting family fun.