

Have you ever wondered why some homes look stunning at night while others simply fade into the shadows? Installing low voltage landscape lighting is a smart way to change how your house looks after dark. This choice enhances beauty and keeps your family safe on dark paths.
Modern outdoor LED lighting helps you save money on power bills while providing a warm, inviting glow. These energy-efficient outdoor fixtures highlight trees and architectural details without much effort. You can easily set up these flexible tools to brighten your favorite garden spots.
This guide explains how to design and maintain your new system for lasting results. We will help you choose the right parts for your specific needs. Follow along to turn your yard into a safe and stylish sanctuary.
Key Takeaways
- Enhance your property curb appeal and overall market value.
- Improve nighttime security for walkways and entry points.
- Reduce electricity costs with high-efficiency light fixtures.
- Enjoy a simple installation process that fits most DIY skills.
- Create a flexible landscape lighting design that highlights unique garden features.
- Benefit from long-lasting bulbs that require very little maintenance.
What is Low Voltage Landscape Lighting and Why Choose It
When it comes to illuminating your yard, a low voltag lighting for landscape wuould be a safe and stylish solution. Lghting with low voltage operates at 12 volts, stepped down from your home’s standard 120-volt supply using a transformer. This reduction in voltage makes the fixtures safer to handle and easier to position around your yard.
Understanding Low Voltage Systems vs. Line Voltage
The primary difference between low voltage and line voltage systems lies in their operating voltages. Line voltage systems operate at the standard household voltage of 120 volts, whereas low voltage systems operate at a much safer 12 volts. This significant reduction in voltage minimizes the risk of electrical shock, making llighting a safer choice for outdoor use.
Key Benefits for Safety and Style
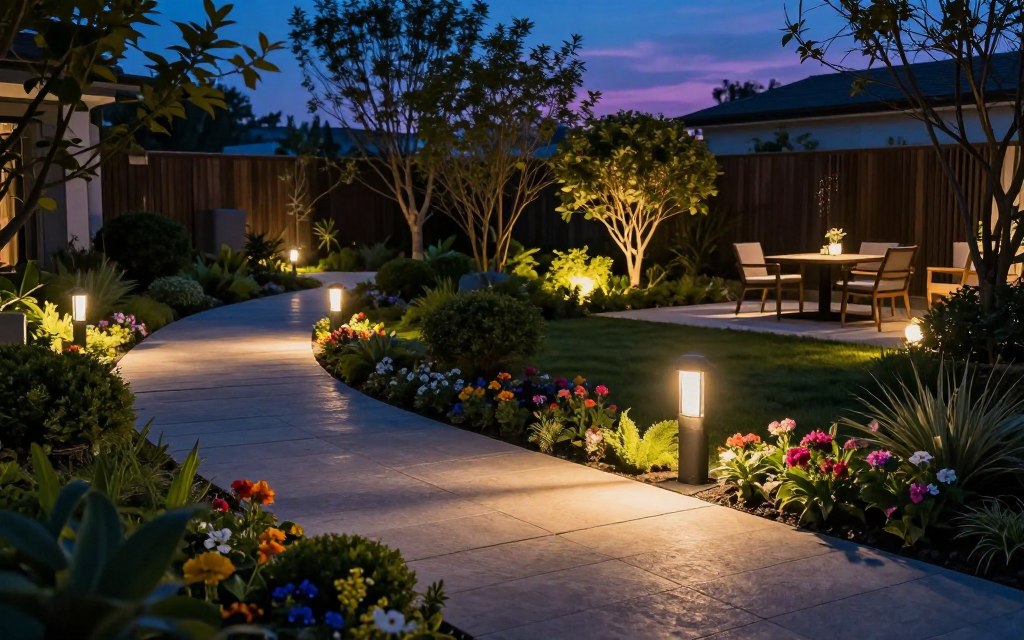
Low voltage lighting not only enhances safety by illuminating pathways and potential hazards but also adds style to your outdoor spaces. With a wide range of fixture styles and designs available, you can create a unique and inviting ambiance in your yard. Most modern low voltage systems utilize LED bulbs, which are not only energy-efficient but also provide a longer lifespan compared to traditional incandescent bulbs.
Cost Savings and Energy Efficiency
One of the significant advantages of low voltage is its energy efficiency. By using LED bulbs and operating at a lower voltage, these systems consume less power while providing adequate lighting. This results in cost savings on your energy bills and a reduced environmental impact. Additionally, the longer lifespan of LED bulbs means less frequent replacements, further reducing maintenance costs.
Planning Your Landscape Lighting Design
Effective landscape lighting design can transform your outdoor space into a welcoming and safe environment. Properly placed lights create depth and texture, define paths, emphasize architectural features, and create cozy outdoor living areas.
Assessing Your Property’s Lighting Needs
Before you start installing lights, it’s essential to assess your property’s specific lighting needs. Consider the size of your yard, the types of features you want to highlight, and the overall ambiance you wish to create.
This assessment will help you determine the number and types of lights you’ll need. It’s also crucial to think about the power source and how you’ll manage the wiring.
Identifying Key Areas to Illuminate
Different areas of your property may require different types of lighting. Identifying these areas is crucial for creating a comprehensive lighting plan.
Pathways and Walkways
Lighting pathways and walkways is essential for safety. It helps prevent trips and falls, especially at night. You can use low-level lights or stake lights to line your paths.
Architectural Features
Highlighting your home’s architectural features can add visual interest and create a beautiful nighttime display. Use accent lights to draw attention to these features.
Garden and Tree Lighting
Garden and tree lighting can add depth and texture to your landscape. Use spotlights to highlight trees, shrubs, and other garden features.
Creating a Lighting Layout Plan
Once you’ve identified the areas you want to illuminate, create a detailed lighting layout plan. This plan should include the location of each light, the type of light to be used, and the power requirements.
A well-thought-out plan will help you avoid costly mistakes during installation and ensure that your landscape lighting system meets your needs.
Choosing the Right Low Voltage Outdoor Lighting Fixtures
Selecting the perfect low voltage outdoor lighting fixtures can elevate your home’s exterior, enhancing both safety and aesthetic appeal. The variety of fixtures available allows homeowners to create a customized lighting design that meets their specific needs.
Types of Low Voltage Fixtures
Low voltage outdoor lighting fixtures come in several types, each designed to serve a particular purpose. Understanding the different types is crucial for creating an effective lighting plan.
Low Voltage Path Lights
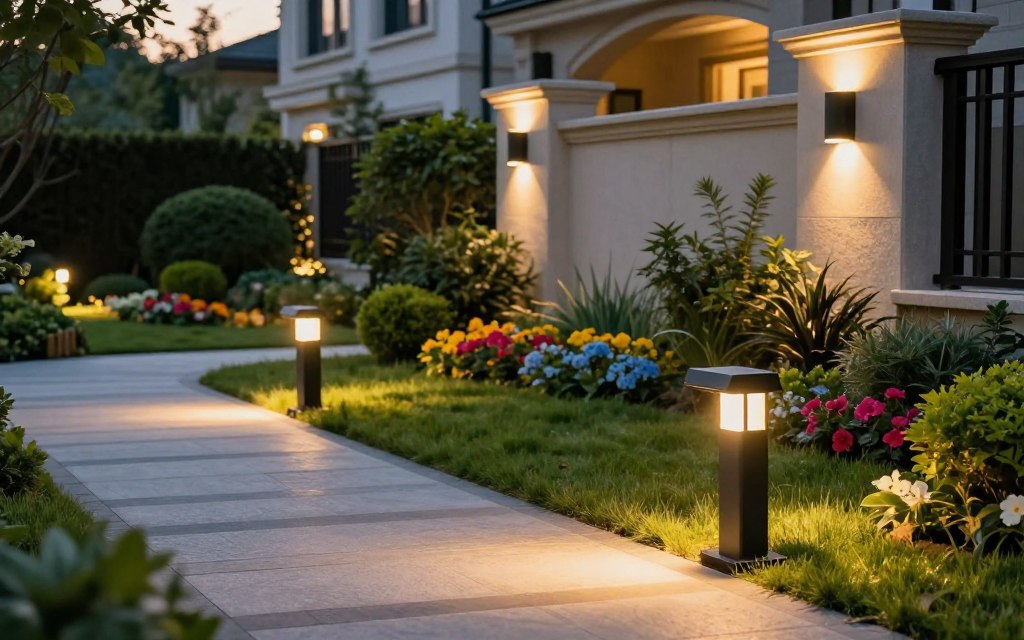
Low voltage path lights are designed to illuminate walkways, driveways, and garden paths. They provide safety and guidance, reducing the risk of tripping hazards and improving visibility at night.
Spotlights and Floodlights
Spotlights and floodlights are used to highlight specific features of your outdoor space, such as trees, statues, or architectural elements. They can create dramatic effects and add depth to your landscape.
Well Lights and Deck Lights
Well lights are installed into the ground to shine light upwards, often used to highlight trees or other vertical features. Deck lights, on the other hand, are mounted on decks and patios, providing ambient lighting and enhancing the outdoor living space.
Outdoor LED Lighting Options
LEDs are a popular choice for low voltage outdoor lighting due to their energy efficiency and long lifespan. They are available in a range of colors and can be used in various types of fixtures.
Selecting the Right Wattage and Lumens
When choosing low voltage outdoor lighting fixtures, it’s essential to consider both wattage and lumens. Wattage indicates the energy consumption, while lumens measure the actual light output.
| Fixture Type | Wattage | Lumens | Beam Angle |
|---|---|---|---|
| Path Light | 3-5W | 100-200 lumens | Narrow |
| Spotlight | 5-10W | 300-600 lumens | Narrow to Medium |
| Floodlight | 10-20W | 800-1200 lumens | Wide |
By considering these factors and choosing the right fixtures, homeowners can create a low voltage outdoor lighting system that is both functional and aesthetically pleasing.
Essential Tools and Materials You’ll Need
Before diving into the installation process, it’s crucial to gather all the necessary tools and materials for your landscape lighting project. Having everything you need on hand will make the process smoother and more efficient.
Transformer Selection and Sizing
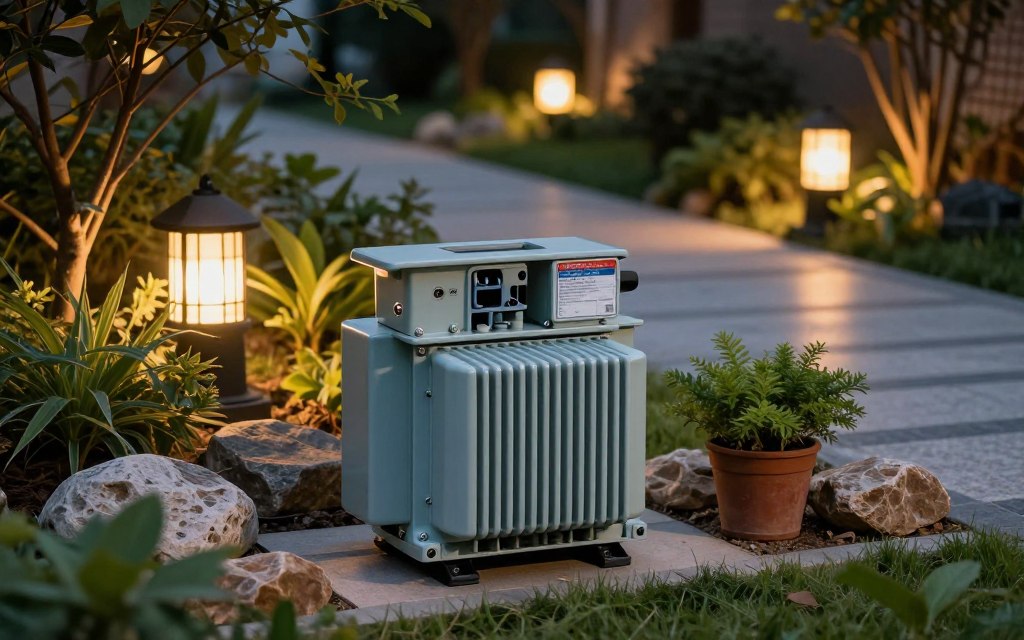
The transformer is a critical component of your low voltage landscape lighting system, as it converts 120V household current to 12V for your fixtures. Choosing the right transformer involves determining the total wattage of your lighting system and selecting a transformer with enough capacity to support it. It’s advisable to add a 10-20% margin to the total wattage to allow for future expansion or additional lights.
For example, if your total wattage is 100W, you should consider a transformer with a capacity of at least 120W. This ensures that your system can handle the load without overheating or failing.
Wire Gauge and Cable Requirements
The wire gauge and cable used in your low voltage landscape lighting system are crucial for ensuring efficient and safe operation. The gauge of the wire refers to its thickness, with lower gauge numbers indicating thicker wires. The distance between your transformer and the furthest light fixture, as well as the total wattage of your system, will determine the appropriate wire gauge.
| Total Wattage | Max Distance | Recommended Wire Gauge |
|---|---|---|
| 0-100W | 100 ft | 16 AWG |
| 100-200W | 100 ft | 14 AWG |
| 200-300W | 100 ft | 12 AWG |
Installation Tools Checklist
To ensure a successful installation, you’ll need a variety of tools. Here’s a checklist of the essentials:
- Shovel or trowel for digging
- Wire strippers
- Pliers and wire cutters
- Screwdrivers (flathead and Phillips)
- Drill (for making holes in fixtures or walls)
- Level (for ensuring straight installations)
- Tape measure (for measuring distances)
Having these tools and materials ready will help you complete your landscape lighting installation efficiently and effectively.
Step-by-Step Installation Guide for Low Voltage Landscape Lighting
Low voltage landscape lighting installtion can significantly enhance your home’s curb appeal and safety. This guide will walk you through the process, ensuring a successful and stress-free installation.
Step 1: Install the Transformer
The transformer is a critical component of your landscape lighting system, as it steps down the voltage from your home’s electrical system to a safe level for outdoor lighting. To install the transformer, mount it near the power source, ensuring it’s elevated off the ground and shielded from direct weather conditions. It’s also crucial to install a GFCI-protected circuit to prevent electrical shock. Always follow local electrical codes and regulations. If you’re unsure about any aspect of this process, consider hiring a licensed electrician.
Step 2: Lay Out Your Lighting Cable
Once the transformer is installed, the next step is to lay out your lighting cable. Begin by determining the path your cable will take to reach each low voltage landscape lighting fixtures. It’s essential to plan this route carefully to minimize cable waste and ensure that your fixtures are adequately powered. Use a garden hose or rope to simulate the cable’s path and make adjustments as needed before laying the actual cable.
Step 3: Connect Your Fixtures
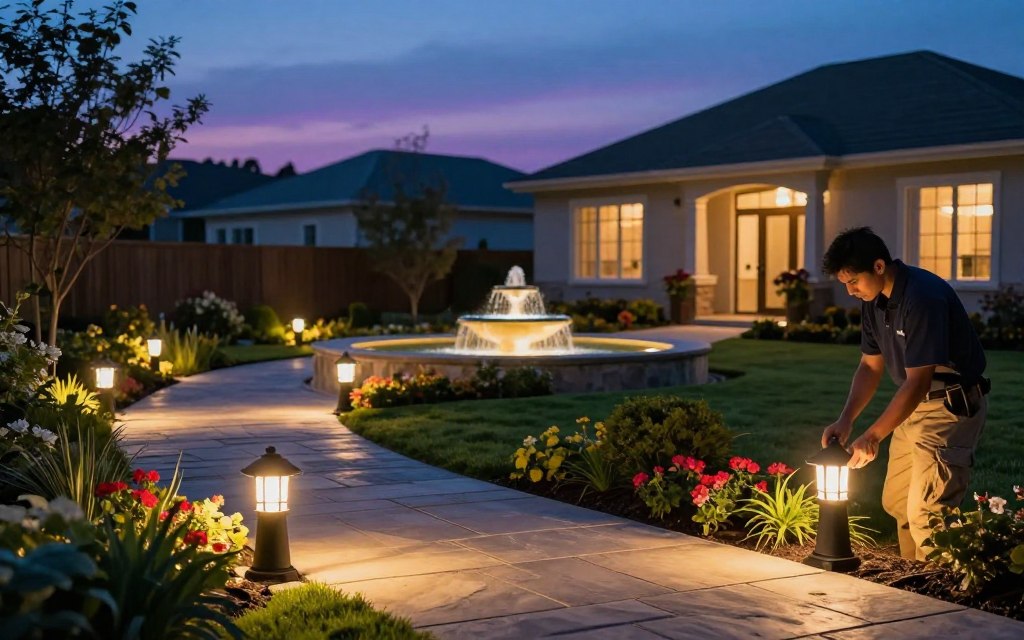
With your cable laid out, it’s time to connect your low voltage outdoor lighting fixtures. Follow the manufacturer’s instructions for each fixture, as the connection process may vary. Generally, you’ll need to attach the fixture to the cable using the provided connectors or stakes. Make sure all connections are secure and watertight to prevent damage from the elements.
Step 4: Bury and Secure the Wiring
After connecting your fixtures, bury the wiring to protect it from damage and maintain your landscape’s aesthetic. Use a trenching tool or shovel to create a shallow trench for the cable, typically about 6-8 inches deep. Place the cable in the trench and cover it with soil. For added protection, consider using cable protectors or conduit, especially in areas with heavy foot traffic or where the cable may be subject to damage.
Step 5: Test Your System
Before finalizing the installation, test your landscape lighting system to ensure everything is working correctly. Turn on the system and check each fixture to verify that it’s functioning as expected. If any issues arise, troubleshoot the problem by checking connections, the transformer, and the wiring for any signs of damage or malfunction.
Safety Precautions During Installation
Safety should be your top priority when installing landscape lighting. Always turn off the power to the circuit you’re working on to avoid electrical shock. Use GFCI-protected circuits and follow local electrical codes to minimize risks. Additionally, be mindful of your surroundings, watching for underground utilities and other potential hazards when digging. If you’re not comfortable with any aspect of the installation, don’t hesitate to consult a professional.
Best Backyard Lighting Ideas for Different Areas
Transforming your backyard into a magical nighttime oasis is easier than you think with the right low voltage lighting. Effective backyard lighting ideas can highlight your property’s best features, create a warm and inviting atmosphere, and enhance the overall safety and functionality of your outdoor spaces.
Garden Lighting Solutions for Plants and Flower Beds
Garden lighting solutions can dramatically improve the visual appeal of your plants and flower beds. Uplighting on mature trees, downlighting from pergolas, and subtle accent lighting along garden borders can completely transform the nighttime appearance of your property. Consider using low voltage outdoor lighting fixtures that are specifically designed for garden lighting, such as stake lights or string lights.
These fixtures come in a variety of styles and can be placed strategically to highlight your garden’s unique features. For example, you can use path lights to illuminate walkways and create a safe and inviting path through your garden.
Patio and Deck Illumination
Patio and deck illumination is crucial for creating an inviting outdoor living space. String lights or fairy lights can add a whimsical touch, while recessed lighting can provide a more modern and sleek look. Consider using LED lights, which are energy-efficient and can be dimmed to create the perfect ambiance.
When choosing patio and deck lighting, think about the activities you’ll be doing in these areas. For example, if you plan to dine outdoors, you’ll want to ensure that the lighting is sufficient for your needs.
Driveway and Entrance Lighting
Driveway and entrance lighting not only enhances the curb appeal of your home but also improves safety by illuminating potential tripping hazards. Consider using low voltage landscape lights along your driveway or pathway to create a welcoming glow.
For entrance lighting, you can use fixtures such as sconces or pendant lights to create a warm and inviting ambiance. Make sure to choose fixtures that are weather-resistant and can withstand the elements.
Water Feature and Pool Lighting
If you’ve invested in a custom water feature or pool, lighting is what makes those features visible and enjoyable after sunset. Submersible lights can be used to illuminate ponds or pools, while LED lights can be used to create a colorful display.
When designing water feature and pool lighting, consider the color temperature and brightness of the lights. Cool white lights can create a modern and sleek look, while warm white lights can create a more relaxing ambiance.
Energy-Efficient Outdoor Lighting: Maximizing Performance
As homeowners increasingly focus on sustainability, energy-efficient outdoor lighting has become a key consideration for landscape design. Maximizing the performance of your outdoor lighting not only reduces energy consumption but also enhances the beauty and safety of your property.
LED vs. Halogen Bulbs
One of the most significant decisions in achieving energy-efficient outdoor lighting is choosing between LED and halogen bulbs. LED systems use significantly less electricity than halogen bulbs, with a reduction of 70–80% in energy consumption. Moreover, LEDs last much longer than their halogen counterparts, reducing the need for frequent replacements. In climates with extreme temperatures, such as Winnipeg’s, LED fixtures are also more durable and less prone to damage.
While the initial cost of LED bulbs is higher, the long-term savings on energy and replacement costs make them a more economical choice. This makes LED lighting a smart investment for homeowners looking to reduce their environmental footprint and lower their utility bills.
Timer and Smart Control Options
Beyond the type of bulb used, the control systems for your outdoor lighting can also significantly impact energy efficiency. Timer and smart control options allow homeowners to manage when their lights are on, ensuring they’re not wasting energy when it’s not needed. Smart controls can be programmed to turn lights on and off at specific times or can be controlled remotely through smartphone apps.
These systems not only save energy but also add an extra layer of security by making it look like someone is home even when you’re away. This can be particularly useful for deterring potential intruders.
Solar Integration Possibilities
For homeowners looking to take their energy efficiency to the next level, integrating solar power into their outdoor lighting system is an attractive option. Solar-powered lights use photovoltaic panels to charge during the day, providing a free source of energy for lighting at night.
Solar integration can be particularly effective for landscape lighting systems, as they require less power to operate. This makes them ideal for solar charging systems, which can be designed to meet the specific energy needs of your outdoor lighting.
Maintenance and Troubleshooting Tips
To keep your low voltage lighting system functioning optimally, regular maintenance is crucial. This not only ensures the longevity of your system but also maintains its energy efficiency and aesthetic appeal.
Regular Cleaning and Inspection Schedule
Every season, inspect your fixtures for signs of corrosion, clean the lenses, and remove any debris that may block the light. Trim plants that have grown into the light beams and adjust the aiming as your landscape changes. This regular upkeep will help maintain the effectiveness and safety of your lighting.
It’s also important to check the wiring and connections periodically for any signs of wear or damage. Ensuring that all components are secure and functioning properly will prevent issues such as dim or flickering lights.
Common Problems and Solutions
Despite regular maintenance, issues can still arise with your landscape lighting design. Understanding common problems and their solutions can help you troubleshoot effectively.
Dim or Flickering Lights
Dim or flickering lights can be caused by an undersized transformer or voltage drop from long cable runs. Check that your transformer is appropriately sized for your system, and consider upgrading if necessary. Also, inspect your connections for any signs of looseness or corrosion.
Voltage Drop Issues
Voltage drop is a common issue in landscape lighting systems, particularly over long distances. To mitigate this, use the correct wire gauge for your cable runs, and consider dividing your lighting into separate circuits if necessary.
Weather-Related Damage
Weather conditions can significantly impact your energy-efficient outdoor lighting. Inspect your system after extreme weather events for damage such as cracked lenses or displaced fixtures. Replace any damaged components to maintain the integrity of your system.
When to Replace Components
Knowing when to replace components of your landscape lighting system is crucial for maintaining its performance. If you notice persistent issues such as dimming or flickering despite troubleshooting, it may be time to replace faulty components.
Regularly inspect your fixtures and other components for signs of wear and tear. Replacing old or damaged parts with new, energy-efficient options can help maintain the overall performance and safety of your system.
Conclusion
Low voltage landscape lighting is a simple and effective way to transform your outdoor space into a beautiful and functional area. By understanding the benefits and importance of this type of lighting, you can create a welcoming nighttime landscape that complements your home and lifestyle.
With sensible planning and quality components, you can achieve a layered lighting effect that highlights your home’s best features. Outdoor LED lighting options offer energy efficiency and long-lasting performance, making them an ideal choice for backyard lighting ideas.
By applying the knowledge gained from this article, you can improve the safety, style, and usability of your outdoor space. Whether you’re looking to illuminate your garden, patio, or driveway, low voltage landscape lighting provides a flexible and cost-effective solution.
As you consider your outdoor lighting needs, remember to choose the right fixtures, plan your layout carefully, and maintain your system regularly. With these tips and a little creativity, you can create a stunning outdoor space that you’ll enjoy for years to come.


