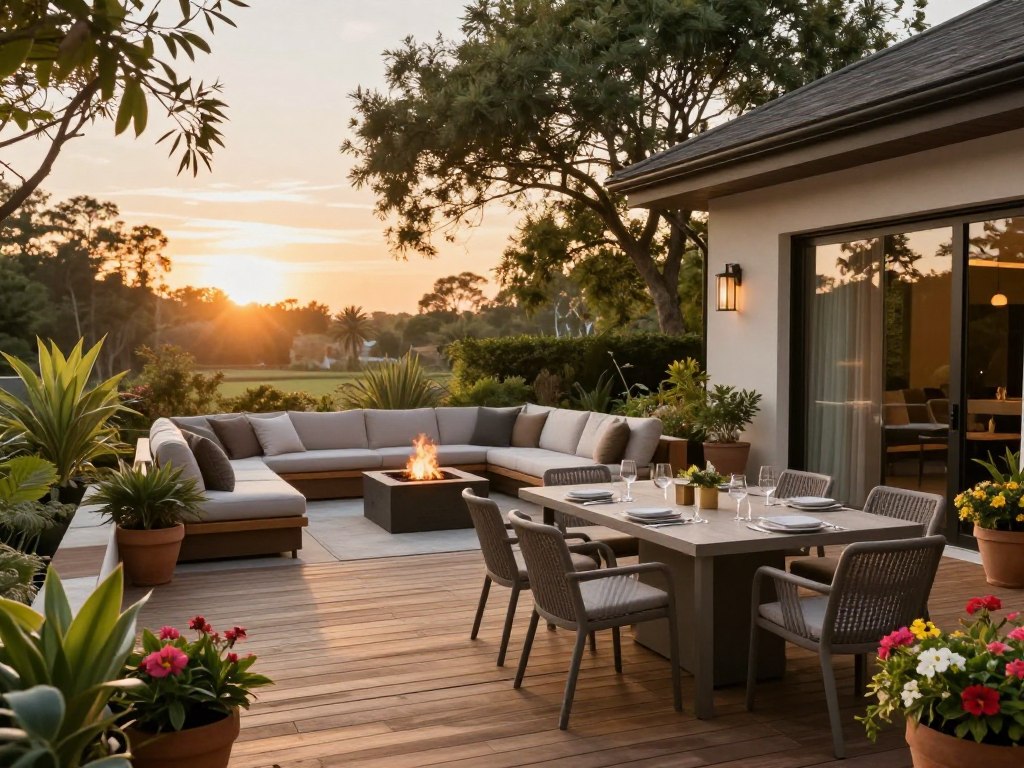
Could your yard do more than offer a view of the back door? Custom outdoor living spaces work best when they start with how people need to use the property. For homeowners and commercial property managers, a useful plan connects daily needs with site conditions, budget, and lasting care. Thoughtful choices can make an underused area more welcoming and useful without treating resale value as a sure thing. Explore custom outdoor living spaces for enhanced enjoyment.
Key Takeaways
- Plan around who will use the space and what they need to do there.
- Coordinate design and construction as parts of one planned project.
- Treat return on investment as a goal, not a promise.
Clear goals give you a stronger starting point than a long wish list. First, what can a custom outdoor living project include?
What Do Custom Outdoor Living Spaces Include?
A custom outdoor living project can cover one feature or a coordinated mix of landscape and built work. The right scope depends on the property and how you want people to use it. Design-build is an approach that coordinates design and construction as parts of one planned project. It can help relate planting, lawn areas, lighting, patios, and walkways instead of treating them as separate choices. Steps and retaining walls can connect areas at different heights. A deck, pergola, or cabana may create a place to sit, while an outdoor kitchen or fireplace can shape cooking and gathering areas. Some projects also include pools. Each feature affects the space around it, including routes people take through the yard and room for planting or seating. Not every provider offers every service, and not every property can support every feature. A useful custom outdoor living plan considers access, grade, existing conditions, and the intended use before setting the scope. These choices can make an outdoor living space feel like a natural extension of the home. The next step is deciding what the property needs to support.
Investing in custom outdoor living spaces is an excellent way to increase the usability of your yard. Plan your custom outdoor living spaces with features that encourage outdoor entertaining and relaxation.
How Do You Set Goals for Your Outdoor Space?
Incorporating custom outdoor living spaces can significantly enhance your lifestyle. These spaces allow for relaxation, entertainment, and a seamless transition between your home and nature. When planning custom outdoor living spaces, consider the features that will best serve your needs.
Custom outdoor living spaces can include features like patios, decks, outdoor kitchens, and seating areas designed to enhance your experience outdoors. Each custom outdoor living space should reflect your style and usage preferences.
When designing custom outdoor living spaces, consider how each element, from furniture to landscaping, can work together to create a cohesive and functional area.
A backyard used mainly as a path to the shed may need a dining spot or gathering area instead. Start by naming what should change in the way you use the property. Household routines and commercial needs call for different plans. A family may want room for meals and play, while a business may need clear guest circulation or shared gathering areas. Use these prompts to set priorities before you meet with a team:
- Who will use the area, and how many people might gather?
- Which activities matter most during a usual week?
- What feels inconvenient about the space as it works today?
- Which goals are essential, and which could wait?
Think about the time you spend outside now and the experience you hope to create. A quiet breakfast area calls for a different design than a busy space for guests. Agreeing on priorities early helps the team balance design decisions with your budget. It also gives everyone a clearer way to judge options as the project takes shape. A clear brief is useful only if the property can support it. Check the site before choosing features.
How Should You Assess the Site Before Design?
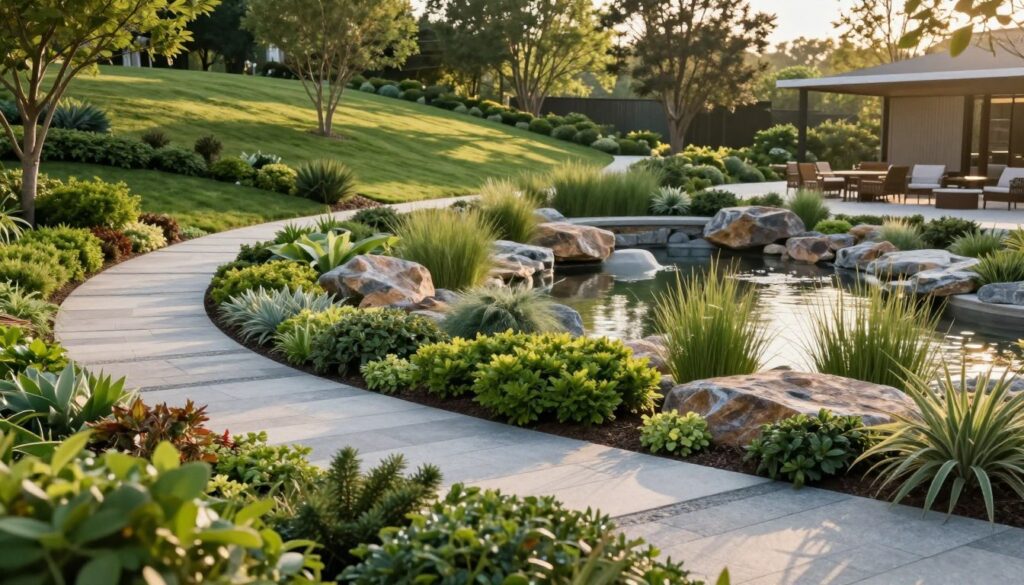
A yard that looks level from the house may still slope toward a low corner or carry water across a planned patio. Those conditions can change the layout before construction starts. Site planning should account for elevation changes, drainage, and access. These details shape how the landscape connects and where a structure or paved area can work.
Check grade, drainage, and water movement
Your vision for custom outdoor living spaces should focus on how you and your guests will experience the area. Custom outdoor living spaces should cater to your specific lifestyle needs.
Grade is the slope of the ground. Changes in elevation affect steps, retaining walls, and the transitions between a home, patio, and lawn. Look at where rainwater flows and where it collects. Placing a patio before considering runoff can send water toward the house or leave standing water beside the paving. Drainage also affects planted areas. Water that moves across a bed may wash soil away, while a low spot can leave roots in wet ground.
Map access, circulation, and existing conditions
Access affects construction as well as everyday use. A narrow gate can limit where equipment and materials can enter, while a tight route may make the finished area awkward to reach. Note existing structures, planting, utilities, and pinch points. Mark the places where people already walk, where doors open, and where a fence or wall narrows the route. For more ideas on assessing dimensions, sunlight, and existing features, see these principles for planning outdoor living spaces. A careful site check helps you choose features that fit the actual property.
Which Features Fit the Way You Want to Use the Space?
The best features serve a clear activity and work together on the site. Plan outdoor areas around how people move and gather, not as a set of disconnected add-ons. Use the table to connect common activities with possible features and a planning point. Site conditions may change which combination makes sense.
| Activity | Possible feature combination | Planning consideration |
|---|---|---|
| Cooking and dining | Outdoor kitchen and dining surface | Allow room to move between cooking and seating |
| Gathering around a fire | Outdoor fireplace and seating | Check clearances and the route around seats |
| Moving between levels | Steps and retaining walls | Plan safe, clear transitions across the grade |
| Relaxing in shade | Pergola or cabana with seating | Consider the sun, access, and nearby activity |
| Connecting house and yard | Deck or patio with a walkway | Keep the door and main route easy to use |
For example, an outdoor kitchen works better when the dining surface sits along a sensible route, not across the main path. A fireplace can become a focal point while still leaving clear space to reach the yard. Custom outdoor plans can link a deck, planting, and seating so each has a purpose. Explore ideas for combining outdoor features to see how different parts can work together. Good circulation and transitions matter as much as focal features. Once the activities fit, compare materials suited to each use.
How Do You Choose Materials for Outdoor Use?
Choose materials by balancing site conditions, care needs, and design. A surface that looks right in a sample may not suit the exposure or daily use of its actual area. These options can help frame a discussion, but they do not suit every site. Compare product specifications and care requirements for the conditions where each material will go.
| Material | Typical application | Maintenance consideration | Design consideration |
|---|---|---|---|
| Cedar or treated lumber | Structures | Check care and finish instructions | Wood tones and grain vary |
| Composite decking | Decks | Clean as the product maker directs | Colors and board styles vary |
| Stamped concrete | Paved areas | Review cleaning and surface care | Patterns can resemble other textures |
| Porcelain pavers | Patios or walkways | Follow product-specific care guidance | Compare color, texture, and finish |
Check how a material responds to sun, rain, and foot traffic. For a patio, review slip resistance and the surface care the product needs. A common mistake is choosing by appearance alone. A glossy sample may look striking, but exposure, grip, and upkeep matter once the material covers a busy route. Ask how the chosen material will meet the next surface and whether the edge needs a transition. Those details affect both daily use and the finished look. Thoughtful material choices help define the construction work. Next, consider the budget factors that shape the project scope.
What Determines the Cost of an Outdoor Living Project?

No single cost fits every project because scope and site conditions vary. The cost depends on project size and complexity, site preparation, selected materials, access, permitting, utilities, and features such as kitchens or fireplaces. A useful estimate describes the actual work, not just a feature name. Ask what the contractor plans to build and what parts of the site need attention. Use these questions to understand what an estimate covers:
- What work is included in the project?
- Which materials and allowances are specified?
- What site preparation or utility work is anticipated?
- What exclusions or change conditions apply?
For example, a patio estimate may include paving but not changes to a nearby drain or utility line. A written scope should make such differences clear before work begins. Access can affect how crews bring materials and equipment to the work area. A tight side yard may require a different approach than a wide, open route. Permitting and utility needs can also change the planned work. A consultation and project-specific estimate are needed to price an individual property. Once the scope is clear, you can consider how the design may add practical value without promising a financial return.
How Can Design Choices Support Return on Investment?
Practical value comes from a space you use and care for, while resale gains are never guaranteed. Good design can support everyday enjoyment and a home’s appeal without assuring a buyer’s response. Consider value through use, visual fit, and the demands of upkeep. The table connects each aim with a design choice and a question to weigh.
| Value consideration | Design decision | What to evaluate |
|---|---|---|
| Everyday use | Coordinate circulation and gathering areas | How often the space serves its intended purpose |
| Visual fit | Relate materials and forms to home and landscape | Whether the addition feels integrated |
| Upkeep | Match materials and features to realistic care | Ongoing cleaning and maintenance needs |
A thoughtful addition should feel connected to the home rather than dropped into the yard. Scale, routes, and finishes can help the new area sit comfortably beside existing features. Property value and marketability depend on the property and the buyer. Do not treat a design feature as a guaranteed return or assume every buyer wants the same outdoor space. Focus on whether the area meets your needs and fits your care routine. That practical goal can guide design choices even when the future market is uncertain. These aims matter only if the work can be carried through clearly. A coordinated process helps connect the plan to construction.
What Happens During a Design-Build Project?
A design-build project should move from defining the project to design, preparation, construction, and review. Each stage builds on decisions made earlier. Plans and the agreed scope should be clear before work starts. A project manager should coordinate schedules, communication, and trades so the team knows what happens next. Most projects follow four broad stages:
- Consultation and goal-setting: discuss how you want to use the property.
- Design and scope development: shape the layout and define the planned work.
- Preconstruction coordination: confirm details and prepare the site plan.
- Construction and walkthrough: complete the work, then review it together.
Consultation and project scope
The first conversation turns ideas into a project brief. You can identify priorities, site concerns, and the work you want included.
Design development and preconstruction
The team develops the design and clarifies its scope. Before construction, confirm the plans, materials, and choices that affect how the work will proceed.
Construction, updates, and final walkthrough
During construction, the crew carries out the agreed work while the project manager coordinates updates and trade schedules. Unplanned site conditions may call for a decision and a documented scope change. The walkthrough gives you a chance to review completed work and ask operational or care questions. Check details such as transitions and access while the work is still fresh. Approvals, utilities, and site access may need attention before construction begins. Those checks help the project become ready to build.
How Do Permits and Site Constraints Affect Construction?
When evaluating your options for custom outdoor living spaces, ensure that you take into account the maintenance requirements to keep these spaces functional and beautiful.
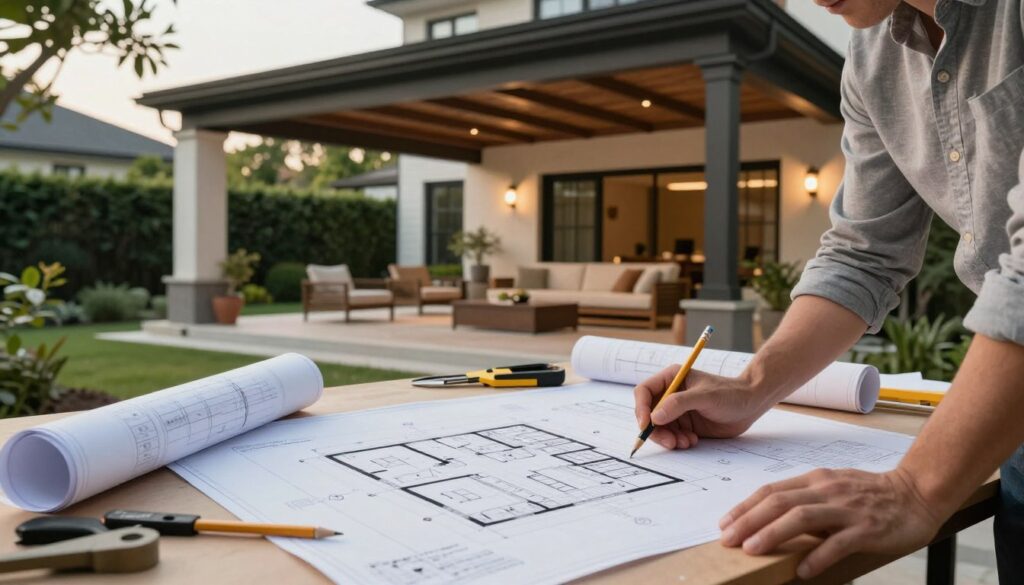
Local requirements depend on the location and the proposed work. Covered structures and work involving electrical or gas commonly trigger review. Confirm requirements with your local building department and qualified professionals. Rules can differ across jurisdictions, so a small structure is not automatically exempt from review.
Custom outdoor living spaces often require permits and adherence to local regulations to ensure safety and compliance, so plan accordingly before starting your project.
Confirm permits and local requirements
Check which approvals apply to the planned scope before construction. A covered patio, electrical connection, or gas line may need review under local rules. Keep the final design consistent with any required review. If the scope changes, ask whether that change affects the approvals or other conditions.
Coordinate utilities and site access
Locate utilities before excavation or other ground work. A marked route can help the team avoid damage and plan where work can safely take place. Plan how equipment and materials will reach the site. A narrow gate, low branch, or tight turn can limit access for the crew and shape the work plan. Coordinate construction with drainage and existing landscape features. Protecting a mature planting area or keeping runoff routes open can affect where materials go and how the work proceeds. Rain can also affect site work and soil conditions. Leave room in the plan to address changing site conditions rather than assuming the ground will stay dry. Clear approvals and access help the team prepare the job. Next, consider how shelter and comfort can support use in more kinds of weather.
How Can You Use the Space in More Seasons?
A sunny afternoon can turn a planned gathering into a search for shade, while rain can send guests indoors. Design for the weather your home and climate commonly face. Covered patios, pergolas, and cabanas can offer different kinds of shelter. Assess each option against the home, the site, and how you plan to use the space.
Add shelter and plan for rain
A roof can protect a seating area, but it also changes where rainwater falls. Adding a cover without planning where roof runoff will discharge can send water toward a doorway or planting bed. Plan drainage along with the structure. Check how the new roof affects existing routes for water and whether the ground can handle the discharge.
Balance shade, airflow, and warmth
Shade can make a sunny area more comfortable, while open sides may help airflow. A solid wind barrier can block drafts but may change how air moves through the space. A roof, fan, or heater may change comfort in different conditions. Choose these options with site conditions and applicable requirements in mind. An outdoor fireplace or other fire feature can add warmth, but its location and use need careful planning. Consider how people move around it and how the feature fits the area. For ideas on shade structures and weather-responsive features, review ways to adapt outdoor spaces to changing weather. A space designed for more conditions still needs care that fits your routine.
How Do You Plan for Maintenance and Durability?
Durability depends on how materials perform and the care they receive. Choose a design that fits the upkeep you can realistically handle. Routine cleaning, surface care, planting maintenance, and built-feature upkeep all shape the time an area needs. Think about these jobs before settling on a design.
Match care requirements to your routine
Review product-specific instructions instead of assuming a material is maintenance-free. A deck may need regular cleaning even when it avoids some care associated with wood. Planting also needs attention as it grows. Consider whether you can manage pruning, watering, and seasonal cleanup across the planned area.
Protect surfaces and planting through upkeep
Access matters when you clean or replace parts. A narrow gap between a wall and a built feature can make routine care harder than it looks on a plan. Think about where tools can reach and how a damaged part could be replaced. Those details can make a space easier to maintain over time. A common mistake is designing around an ideal routine you will not keep. Choose details that suit your real habits, not a perfect schedule. Good care can help protect the work, but material quality alone does not prove a provider is right for the job. Review past work and reputation before you commit.
How Should You Evaluate a Landscape Contractor’s Reviews?
Useful reviews describe what happened, not just whether a customer felt satisfied. Treat custom outdoor living reviews as one input, not proof of a specific result. Look for clear details about communication, workmanship, schedule handling, issue resolution, and completion. A short comment can still help if it names a real part of the experience. Use these checks as you compare feedback and other evidence:
- Look for examples of how the team handled a concern.
- Check whether reviews describe craftsmanship and finish details.
- Compare photos of work that resembles your project.
- Ask for references where available, and review licensing and insurance information.
- Compare the written scope with the work shown in project photos.
Phrases such as “great job” or “highly recommend” tell you little on their own. They become more useful when a reviewer explains what the team did well. Search for mentions of quality work that point to specific choices or outcomes. No review can guarantee that your project will follow the same path. Look for relevant examples and ask clear questions about the work. Once you choose a provider, set expectations for communication during your own build.
How Can You Keep Construction Organized?
An unexpected utility line can shift a planned route or require a new choice. A timely, documented decision helps the team understand what changes and what stays in scope. A project manager coordinates the team, trade work, and communication. The role helps keep people informed, though schedules can change when conditions or materials shift.
| Project moment | Useful communication | Decision to document |
|---|---|---|
| Before work starts | Confirm schedule and access | Agree on site logistics |
| During construction | Share progress and flag unexpected conditions | Record approved scope changes |
| Before closeout | Review finish details and open items | Record remaining items and care questions |
Before the crew arrives, agree on where people can enter and where materials may be placed. A clear access plan can protect planting and reduce confusion around the work area. During construction, ask how the team will share updates and who will answer questions. Keep approved changes in writing so the project record matches the work. At closeout, note any remaining items and ask how to use or care for completed features. This final review helps everyone share the same understanding of the finished work. Clear roles and records make a complex job easier to follow. For a large scope, the next choice may be whether to build it in planned phases.
Can You Build the Project in Phases?
Phasing can work when later stages are designed into the initial plan. A staged project still needs a full view of how the outdoor living space should work when complete. Plan the early construction to support later additions. That means thinking about utility routes, drainage, access, and finished surfaces before the first crew begins.
| Phase | Possible work | Coordination to plan |
|---|---|---|
| Site preparation | Essential access and ground work | Set routes for utilities and drainage |
| Primary build | Patio or deck foundation and main circulation | Protect routes needed for later work |
| Later additions | Planting, shade, or an outdoor kitchen | Connect utilities and avoid finished surfaces |
For example, a first phase might create essential access and a foundation. A later addition can then use routes left ready for planting or an outdoor kitchen. Phasing may be impractical if later work would disturb completed construction or require site preparation twice. In that case, building the connected parts together may avoid redoing work. Agree on which parts are needed now and which can wait. A clear plan lets the crew understand the finished goal, even when construction happens over time. Before asking for an estimate, gather the details that will help a provider understand your property and request.
What Should You Prepare Before Requesting an Estimate?
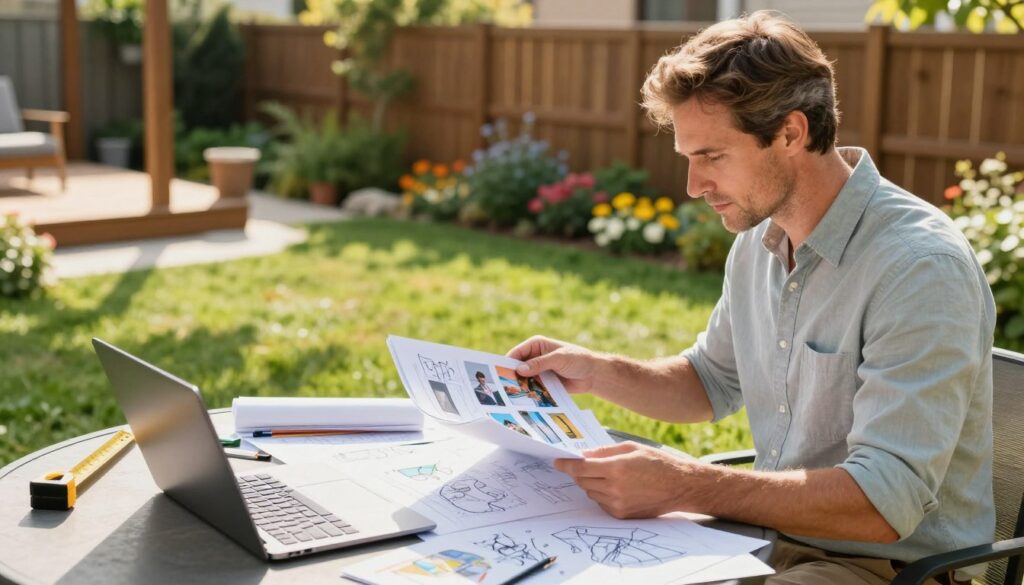
A few concrete details help a provider understand your property and the work you want. You do not need a finished design to start a useful conversation. Prepare what you know and mark what remains uncertain. A simple sketch can show the backyard layout, while notes can point out concerns that photos may miss. Gather these five items before the first discussion:
- Property address and notes about gates, parking, or other access.
- Current photos or a simple sketch of the area.
- Desired activities and must-have features for the space.
- Known drainage, utility, or grade concerns.
- A preliminary budget range and timing preferences.
Separate essential work from features that could be a later addition. This helps the team understand the first phase without losing sight of your longer-term plan. Share any questions about design or construction, even if you do not know the answer yet. A project manager can help clarify how the process and communication will work. For homeowners, photos of the home and backyard can help explain how you want indoor and outdoor areas to connect. Add notes about the details that matter most to your experience. Contact Taylor Made Landscapes® for a custom consultation or project estimate. Bring the information you have, and discuss what fits your property and plans.
Conclusion
A well-planned project starts with how your property needs to function. Prioritize the activities you want to support, then connect site conditions with design and construction choices. Those two steps can help you shape an outdoor living project that fits your needs and the home. They also give the team a clearer picture of what you want to build. Your next step is to contact Taylor Made Landscapes® to discuss a custom consultation or project estimate. Share your goals and property details to start the conversation.
FAQ
How long does an outdoor living project take?
Can I add an outdoor kitchen to an existing patio?
Do I need drainage work when adding a patio?
Can a pergola be added to an existing deck?
What should be included in an outdoor living estimate?
Is composite decking maintenance-free?
Consider the flow and functionality of your custom outdoor living spaces to enhance your outdoor experience. Custom outdoor living spaces are not just additions; they’re extensions of your home.
Custom outdoor living spaces can also include features that provide shelter and comfort during various weather conditions, further enhancing their usability throughout the year.
In conclusion, embracing custom outdoor living spaces can transform your property into a functional and enjoyable oasis. Consult with experts to tailor custom outdoor living spaces to your needs.