A successful best in ground trampoline project starts with choosing a model for the people who will use it and checking that the yard can support a properly drained installation. Can a low-profile play space work without creating a soggy pit or crowded garden? The best choice depends on your jumpers, yard layout, airflow, drainage, and installation approach.
Key Takeaways
- Match the model and shape to the users and available space.
- Plan excavation and drainage before buying equipment.
- Choose a trampoline designed for inground trampolines installation.
Taylormade Landscapes® is a landscape design and contracting business. A well-planned project can give your family a place to jump while preserving the look and use of your home’s yard.
First, weigh the practical benefits against the permanent site work. Then compare shapes, models, safety features, installation needs, and upkeep.
What Makes an In-Ground Trampoline a Good Fit for Your Backyard?
A ground-level setup can blend more quietly into a landscape and make access easier, but it is a fixed backyard project rather than a portable play item. An in-ground trampoline sits in an excavated pit, with its jumping surface near ground level.
The lower profile can leave sightlines open across a small yard. It may also suit a garden where a tall frame would compete with fences, trees, or outdoor seating.
Ground-level access means jumpers do not climb a ladder to reach the mat. That can be useful for younger children, though an adult should still supervise their use.
The installation is permanent in practical terms. Digging, soil removal, and site work make moving the equipment much harder than shifting an ordinary trampoline.
Ground-level placement can reduce the height of a fall, but it does not remove trampoline safety risks. Springs, the frame, collisions, and unsafe jumping can still cause injuries.
Air displacement is the movement of air out from beneath the jumping mat when someone lands, which the design must allow to avoid restricting the bounce. A suitable design vents air beneath the mat instead of trapping it in the pit.
That airflow need makes the equipment choice important. A regular trampoline placed in a hole may not work as intended, since its design may not account for airflow, moisture, or soil support.
This setup is a poor fit if your household expects to move the trampoline soon. Weigh its fixed nature against the visual and access benefits before comparing models with above-ground trampolines.
In-Ground vs. Above-Ground Trampolines: Which Fits Your Yard?
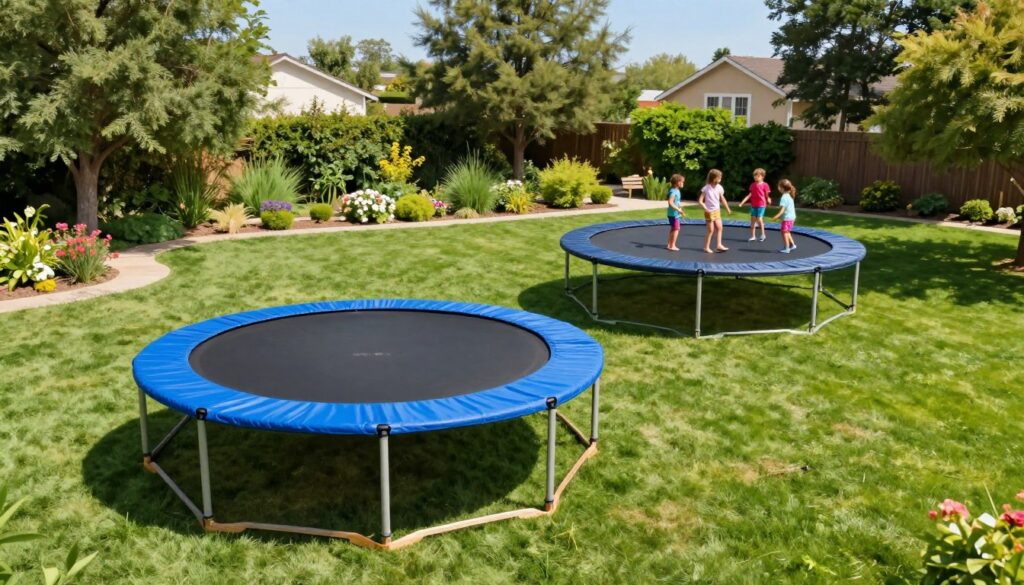
If a low visual profile and easy ground-level entry matter most, an in-ground design may fit; if flexibility and simpler setup matter more, an above-ground model may be the better choice. Neither type eliminates trampoline injury risks.
The right option depends on your yard and what you value. This above-ground versus in-ground comparison can help you weigh appearance, access, and project work.
Where a ground-level design has an advantage
In-ground trampolines can sit closer to the landscape, without a tall frame taking up the view. Ground-level entry can also feel simpler than climbing a ladder, especially when children use the play area.
That look comes with site work. An in-ground installation usually involves excavation and other preparation, while the equipment stays in place once the yard is finished.
When an above-ground trampoline may suit you better
An above-ground trampoline is generally easier to move and often simpler to set up. Its height and frame remain visible, so consider how the footprint will affect paths, views, and planting.
A low-profile above-ground model offers a middle option. It stays above ground, yet may have a shorter visual profile than a taller design.
| Installation type | Yard appearance and access | Portability | Main safety consideration |
|---|---|---|---|
| In-ground | Low profile; ground-level entry | Difficult to relocate | Fall height is lower, but springs and collisions remain risks |
| Above-ground | Visible frame; ladder access | Generally easier to move | Height adds fall distance; safe use still matters |
| Low-profile above-ground | Shorter frame; elevated entry | Generally easier to move | Lower height does not remove injury risks |
Compare the ground work with the flexibility you may need later. Shape, size, and intended use will narrow which in-ground options deserve a closer look.
How to Choose the Best In Ground Trampoline for Your Yard
Start with the yard’s usable footprint and the jumpers’ needs, because the right shape is the one that fits both without crowding paths or planting. The best in ground trampoline for your property is not always the largest model.
Choose a shape for the way people jump
Round designs suit general recreational bouncing. Their shape tends to guide jumpers toward the middle, which can work well for casual family use.
Rectangular models provide more directional jumping space. That may appeal to people who want room to move along the mat, but the shape needs a matching clear area.
Oval and square trampolines offer other ways to fit a yard. An oval can suit a longer footprint, while a square may align neatly with a patio or straight path.
Match the jumping area to users and available space
Measure the full equipment footprint, not only the jumping mat. Include the surrounding clearance, the route for excavation equipment, and the space needed to remove soil.
Check how each shape sits beside existing paths, fences, trees, and planting beds. A model that fits on paper may still block a useful route or squeeze a garden edge.
For the best in ground trampoline for adults, check the specific model’s stated user limits and intended use. Do not assume every design suits adult jumping just because its mat looks large.
A low ground trampoline is a separate, low-profile above-ground option, not another name for a sunken installation. That distinction matters when you compare product design and site work.
Once the shape and footprint suit your users, compare model families and their published product details.
Which In-Ground Trampoline Models Match Different Budgets and Bounce Styles?
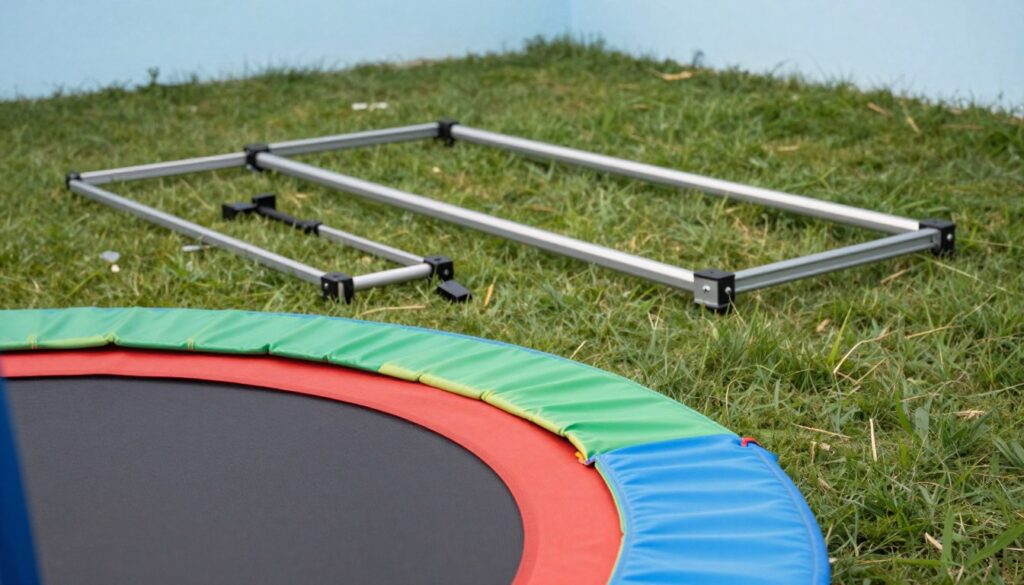
For recreational family use, athletic bouncing, and varied yard layouts, Avyna Pro-Line and BERG offer distinct shapes and spring designs, while TDU VPS provides another system to compare. Each product line has different configurations and published details.
Use the table to narrow your options by shape, design, and listed product price. These figures cover the products, not excavation or other site work.
| Model or system | Shapes or configuration | Notable design detail | Published product price range |
|---|---|---|---|
| Avyna Pro-Line | Round, rectangular, and square; round sizes include 12 and 14 feet; rectangles reach 12 by 18 feet | Air X-TREAM mat allows 70% more airflow than traditional mats; lifetime frame warranty listed | $2,195-$4,195 |
| BERG in-ground models | Round, rectangular, oval, and square; Grand Champion is an oval option | TwinSpring Gold uses angled V-positioned springs; AirFlow mats aim to improve airflow; 15-year frame warranty listed | $1,495-$5,495 |
| TDU VPS | VPS system with mat, safety pad, and retaining wall | 600-pound weight limit; three-year mat and pad warranties; lifetime retaining-wall warranty | No product price range listed |
Avyna Pro-Line covers round, rectangular, and square layouts. Its listed round sizes include 12-foot and 14-foot models, while rectangular models reach 12 by 18 feet.
Avyna describes its Air X-TREAM mat as allowing 70% more airflow than traditional mats. Its product details list a lifetime frame warranty, so read the warranty terms for any limits or exclusions.
BERG offers four shapes, including oval Grand Champion models. Its TwinSpring Gold system places springs at an angle in a V pattern, and its AirFlow mats are designed to improve airflow.
BERG lists a 15-year frame warranty. Its published product price range runs from $1,495 to $5,495, depending on the model.
TDU VPS product details list a 600-pound weight limit. They also give three-year warranties for the reinforced mat and vented safety pad, plus a lifetime warranty for the retaining-wall system.
Which trampoline brand is considered the most reliable? There is no universal winner; compare verified specifications, warranty terms, intended use, and site suitability.
Which brand of trampoline is considered the best? The best choice depends on the same practical details, not a single brand name. An in-ground trampoline kit still needs to match your yard and installation plan.
Before ordering, check the exact model’s fit, warranty exclusions, and installation requirements. Then look closely at the safety features you will use every day.
Which Safety Features Matter on an In-Ground Trampoline?
A trampoline’s low height can reduce the distance of a fall, but safe use still depends on its enclosure, spring coverage, condition, and supervision. Ground-level placement is not a guarantee against injury.
Check enclosure coverage and spring protection
An enclosure may still help protect children, even when the jumping mat sits near the ground. Check how the net meets the mat and whether it closes gaps around the entry.
Look at the pads that cover springs and nearby frame parts. They should stay in place and cover the areas the model’s design intends them to cover.
Falls onto exposed springs or the frame remain possible. Jumpers can also collide, especially when more than one person uses the trampoline at once.
Inspect the frame, mat, springs, pads, and enclosure before use. A damaged or loose part can change how the trampoline performs.
Use safe jumping habits every time
Follow the model’s user limits and supervision guidance. A conservative household rule is one jumper at a time, which can reduce collisions between people of different sizes.
Keep jumping to the center of the mat and avoid flips unless the manufacturer’s guidance allows them and proper training is in place. No feature can promise to prevent injuries.
Children need active supervision, not just an enclosure. Set clear rules about rough play, access, and stopping when someone feels tired or hurt.
Safe equipment choices also depend on a suitable site. Before digging, assess whether the property can support the installation and manage water around the pit.
How to Plan Excavation and In-Ground Trampoline Installation
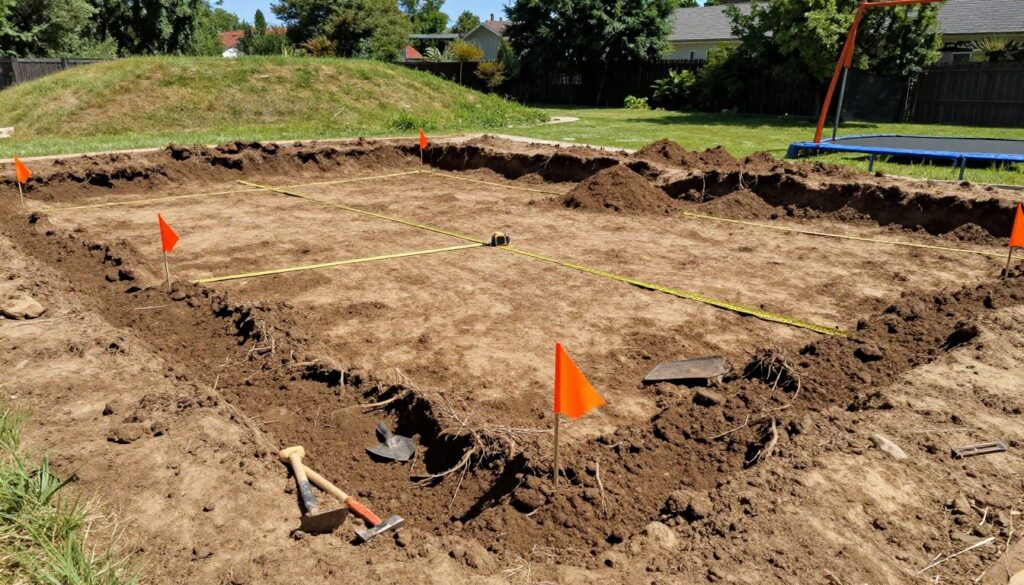
Before any digging starts, confirm the trampoline model, underground utilities, site access, and the route water will take away from the pit. Trampoline installation starts with the property, not the shovel.
Work through these checks in order. Each answer affects the location, preparation, or installation method.
- Confirm the selected model is approved for in-ground installation.
- Check property lines, underground utilities, local requirements, access, and overhead clearance.
- Assess slope, soil, and seasonal water conditions.
- Plan excavation and spoil removal.
- Confirm retaining-wall, airflow, and drainage plans with the manufacturer or installer.
Check the site before digging
Start by confirming the model’s intended use. A regular trampoline is not a substitute for equipment designed for a pit.
Mark property lines and locate buried utilities before excavation. Check local requirements, plus access for machinery and overhead branches or wires.
Look at the slope and soil, then consider seasonal water. A spot that stays dry in summer may hold water during wet weather.
Prepare a pit for the selected model
Plan where excavated soil will go and how workers will move it out. A multi-day project may need specialized excavation, grading, and safe soil handling.
Follow the selected model’s instructions for pit dimensions and depth. Generic measurements cannot account for differences in frame shape, retaining wall, or mat design.
Confirm the retaining wall, airflow, and drainage approach with the manufacturer or installer. These parts need to work together, not just fit the opening.
Decide whether to hire a professional
In-ground trampoline installation can take from a few days to a few weeks, depending on the project and installer. Soil, access, and site work affect the schedule.
In-ground trampoline DIY can suit a capable person with suitable tools and a site that can be excavated and drained correctly. It is not a good fit for every yard.
If the work calls for heavy equipment, complex grading, or a drainage plan you cannot assess, hire a qualified installer. A careful site review helps avoid costly rework.
Excavation is only part of a successful installation. The pit also needs a way to manage water beneath the mat.
How Do You Keep Water From Collecting Under an In-Ground Trampoline?
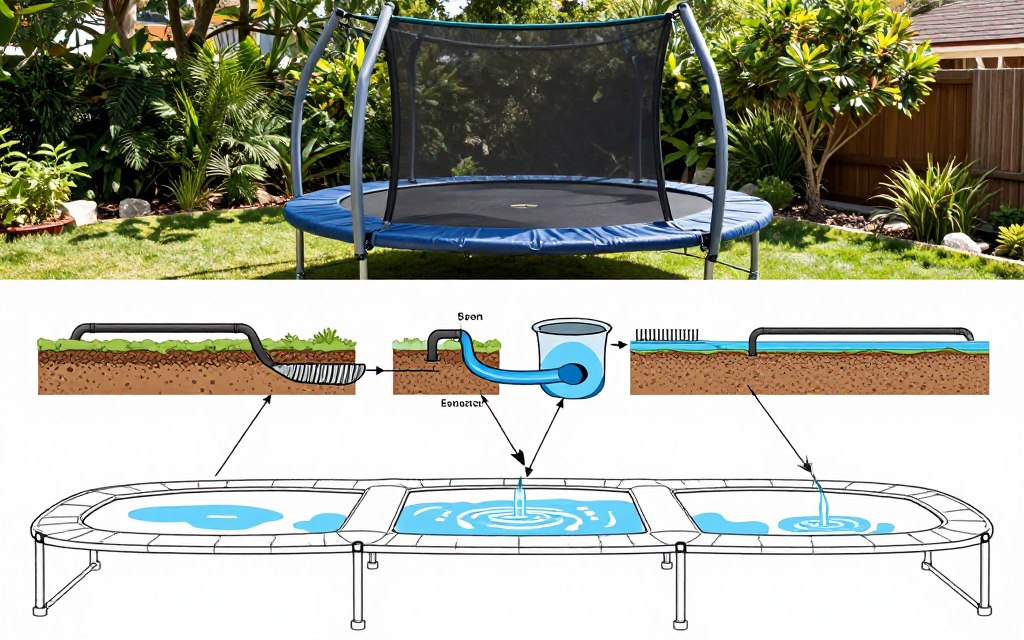
Water does not have to collect beneath a sunken trampoline, but the pit needs a drainage plan suited to the soil and a workable water outlet. A pit with no effective drainage path can fill or stay wet.
Read the site’s water and soil conditions
Check how quickly the soil absorbs water and where runoff travels during heavy rain. Soil permeability, slope, and nearby low spots all affect the site.
Consider groundwater and seasonal changes, too. A pit may face different conditions after prolonged rain than it does during a dry spell.
Watch the yard during a storm if you can do so safely. Water moving toward the planned location can signal that the design needs a clear route away from the pit.
Choose drainage that has a real outlet
A layer of drainage stone alone cannot solve the problem if water has nowhere to go. The system needs a discharge point that can carry water away from the pit.
Gravity drainage may work when the site has a suitable outlet at a lower level. A pump may be needed only when a qualified installer determines that gravity flow will not work.
An in-ground trampoline retaining wall supports the pit and helps the equipment fit its opening. It does not replace drainage or stop water from collecting.
Match the plan to the soil and outlet rather than copying a detail from another yard. A good route for one property may not work on a flat site or in dense soil.
Once the water plan fits the site, the next budget question is how excavation and other work affect the project price.
What Does an In-Ground Trampoline Project Cost?
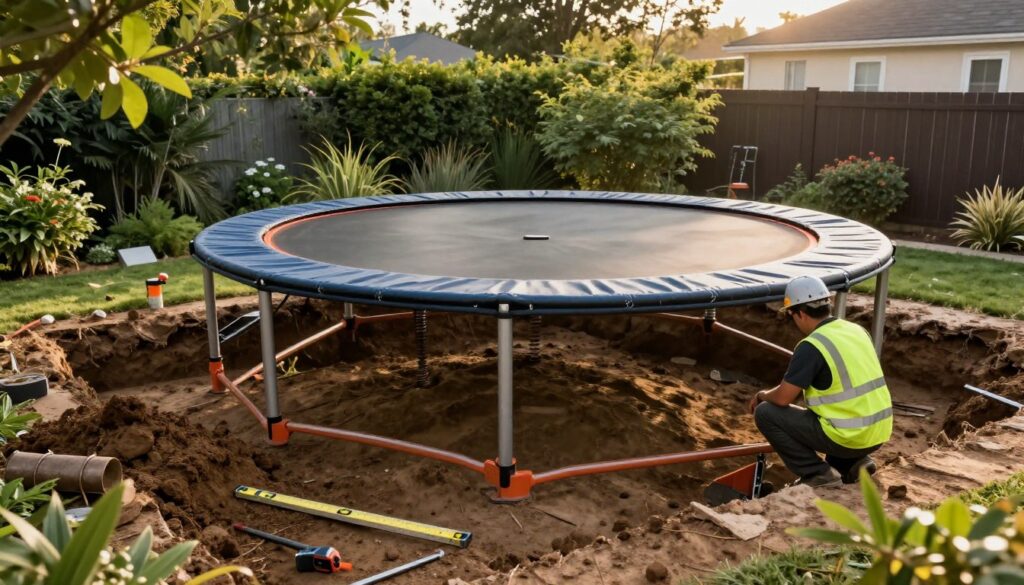
The total cost depends on both the trampoline kit and the work needed to make the yard ready for it. General in-ground trampoline prices range from about $1,500 to more than $5,000, while installation can add up to $3,500 or more.
Separate the equipment price from site work
The equipment price does not show the full project cost. Excavation, soil removal, drainage, and landscape repair can add work beyond the trampoline itself.
The total varies with the model, size, access, soil, drainage needs, and local labor. Those factors can make two similar yards require different amounts of work.
| Cost component | What affects it | Site question to ask |
|---|---|---|
| Trampoline and accessories | Model, shape, size, enclosure, and included parts | Which accessories and safety parts come with this model? |
| Excavation and soil removal | Soil type, pit size, equipment access, and disposal needs | How will the crew reach the site and remove the soil? |
| Drainage and retaining-wall work | Soil and water conditions, outlet, wall design, and site fit | Where will water discharge, and what does the wall include? |
Ask for a site-specific estimate
What is the average cost of an inground trampoline? Equipment generally costs about $1,500 to more than $5,000, and installation can add up to $3,500 or more.
No single average represents sites with very different soil, access, and drainage needs. A simple excavation and a difficult water outlet create different scopes of work.
Request a written estimate that separates equipment, excavation, disposal, drainage, retaining wall, and landscape restoration. That breakdown makes it easier to compare bids fairly.
Ask who handles permits or other local requirements, if they apply. Confirm which party will protect paths, remove spoil, and restore disturbed planting.
Use the estimate to confirm the scope and each party’s responsibilities. After the work is done, a simple upkeep routine helps protect the equipment and surrounding yard.
How to Maintain the Trampoline and Surrounding Landscape
A quick, regular inspection helps catch blocked airflow, damaged components, and drainage changes before they become larger problems. Your routine can stay simple if you check the equipment and nearby planting often.
Use these four checks as a starting point, then follow the model’s own care instructions.
- Clear leaves and debris from the mat and pit area.
- Inspect pads, mat, springs, frame, and enclosure for damage or corrosion.
- Check that water drains as intended after rain.
- Keep grass, mulch, and planting from blocking vents or changing the intended grade.
Inspect the equipment and pit regularly
Leaves can cover vents or collect around the mat. Remove debris before it blocks airflow or hides wear.
Look for torn material, loose parts, and rust on metal components. Check the springs and frame as well as the mat, pads, and enclosure.
After rain, make sure water leaves the pit as intended. Standing water or a new flow path may signal a change in the yard or drainage system.
Follow the manufacturer’s inspection and care instructions, especially after severe weather or long periods without use. A careful check before jumping can reveal problems that were not visible from a distance.
Keep landscaping clear of the installation
Trim grass and plants before they cover vents or intrude on the equipment. Keep mulch out of openings where it could block airflow.
Do not raise or lower the surrounding grade without considering the original landscape plan. Changes can redirect runoff toward the pit or affect the retaining wall.
Maintenance needs depend on climate, how often people jump, and the product’s materials. Regular care supports safe use, but no fixed lifespan applies to every trampoline.
Choose a system that suits the site, then commit to caring for both the equipment and the surrounding landscape.
Conclusion
The strongest choice is the one that fits both the jumpers and the conditions beneath the yard. A good result pairs equipment designed for in-ground use with a site-specific excavation and drainage plan.
For homeowners and commercial property managers, the installation should also fit the way people use the backyard and the wider landscape. A thoughtful layout can leave room for play without making paths or planting feel like an afterthought.
Contact Taylormade Landscapes® for a custom consultation or project estimate for integrating the installation into your backyard landscape.