
Have you ever wondered how to keep a lush, green yard in the desert without spending a lot of money on water? For many Vegas homeowners, a synthetic turf installation offers the perfect balance of beauty and function. This complete guide walks you through every step to transform your outdoor space into a low-maintenance paradise.
In our dry desert climate, saving water is a top priority for most families. Choosing artificial grass ensures your lawn stays bright all year long without the hard work of regular yard care. This DIY project is great for anyone with basic skills who wants to boost their home value.
This manual covers sixteen detailed steps, from preparing the area to applying the final infill. By using expert methods, you can achieve a durable look that mimics natural grass. Following these professional steps ensures great drainage and a long life for your backyard.
Key Takeaways
- Transform desert spaces into low-maintenance landscapes.
- Master the 16-step process for professional results.
- Prioritize water conservation in harsh desert climates.
- Enhance property value with high-quality artificial lawns.
- Ensure drainage and longevity with expert techniques.
- Complete the project successfully using basic DIY skills.
Why Synthetic Turf is Perfect for Las Vegas Backyards
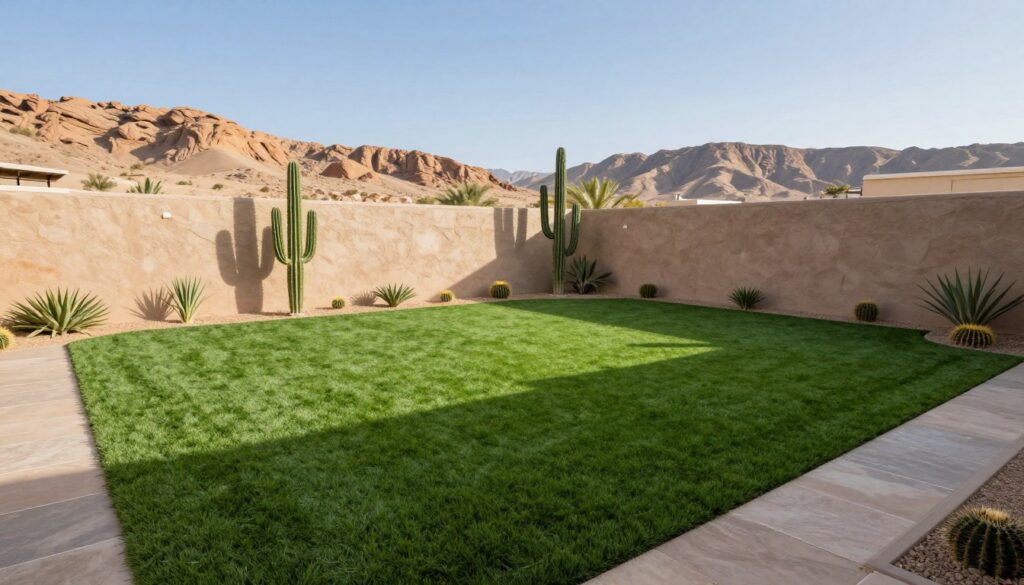
Between strict water restrictions and scorching temperatures, Las Vegas residents need a landscape that doesn’t just survive but thrives. Choosing artificial turf provides a lush, green environment that remains vibrant even during the most intense July heat waves. This switch transforms a dusty yard into a year-round landscape that elevates your home’s curb appeal.
Switching to synthetic grass saves a massive amount of water, which can lower your utility bills by thousands of dollars annually. You also gain back valuable time since you no longer need to mow or fertilize. This freedom allows you to enjoy your backyard rather than laboring over it in the desert sun.
Modern materials withstand heavy foot traffic in busy areas and resist fading from intense UV exposure. These surfaces are ideal for households with pets, as they offer easy cleanup and resist digging. You will never have to worry about muddy paws or yellow urine spots again.
While the initial maintenance is very low, the long-term aesthetic remains high throughout every season. Your lawn stays emerald green for 15 to 20 years without brown patches or seasonal die-off. This durability makes it a smart investment for any desert homeowner.
| Feature | Natural Grass | Synthetic Turf |
|---|---|---|
| Water Usage | Daily Irrigation Needed | Zero Irrigation Required |
| Summer Color | Tends to Brown or Dormant | Vibrant Green Year-Round |
| Upkeep Tasks | Mowing, Seeding, Weeding | Occasional Rinsing |
| Expected Lifespan | Varies by Care | 15 to 20 Years |
Planning Your Synthetic Turf Installation Project
Success in landscaping starts with a well-thought-out strategy before you ever pick up a shovel. Thorough preparation is the key to ensuring your yard looks natural and lasts for years in the Nevada heat. By organizing your workflow now, you can avoid common mistakes laying synthetic turf that often frustrate beginners.
Assessing Your Installation Area and Surroundings
Start by visually checking the specific surface where the grass will sit. Look for drainage issues or existing landscape features like trees and large rocks that might interfere. You should also clear a staging area near the workspace to store your supplies and cut the rolls easily.
Creating a clear design plan is your first priority. Define where the grass ends and where planting beds or hardscape borders begin. This helps you visualize how water will flow across the yard during heavy desert rainstorms.
Essential Materials and Tools Checklist
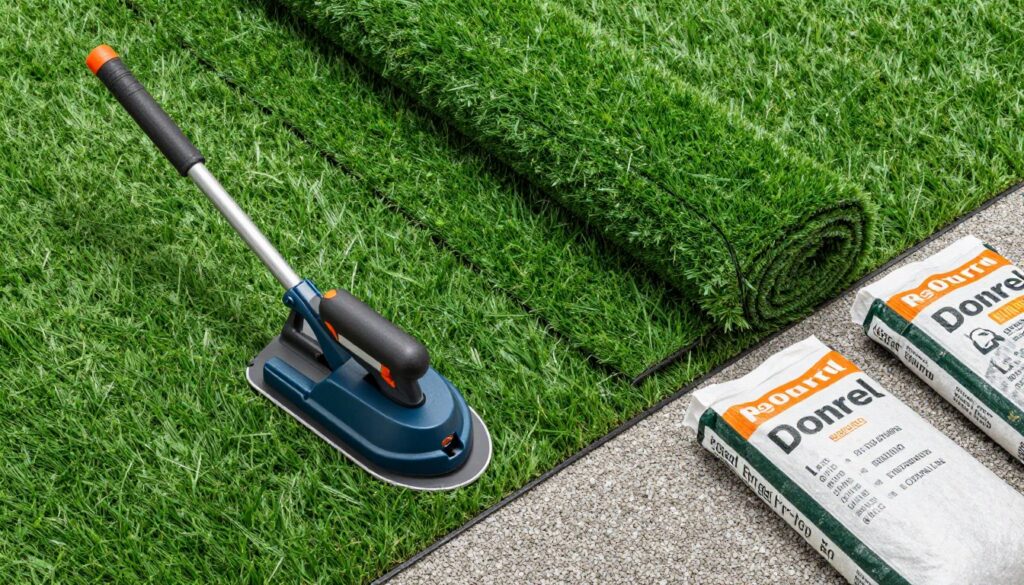
Gathering all your materials before you start prevents unnecessary trips to the store. You will need high-quality synthetic grass, weed-block fabric, and base materials like a gravel and decomposed granite mix. Do not forget the bender board edging to keep everything neatly contained.
Specific tools make this installation much easier and more professional. Using a plate compactor or hand tamper is a critical step to ensure a stable foundation. You should also have these items ready:
- Sod cutter or sharp shovel
- Carpet knife or specialized turf cutter
- Measuring tape and level
- Push broom and drop spreader
Measuring Your Space Accurately
Taking precise measurements of your project is the only way to order the right amount of grass. Measure the area multiple times to account for irregular shapes, curves, and fixed obstacles like pillars or fire pits. Always add a small buffer to your final order to cover any cutting mistakes.
Ask yourself important questions about the timeline and your own skill level before starting the physical work. Some homeowners find that complex designs bring up difficult questions about whether to DIY or hire pros. Having a clear blueprint and all your materials on hand will streamline the entire process from start to finish.
Site Preparation and Excavation Process
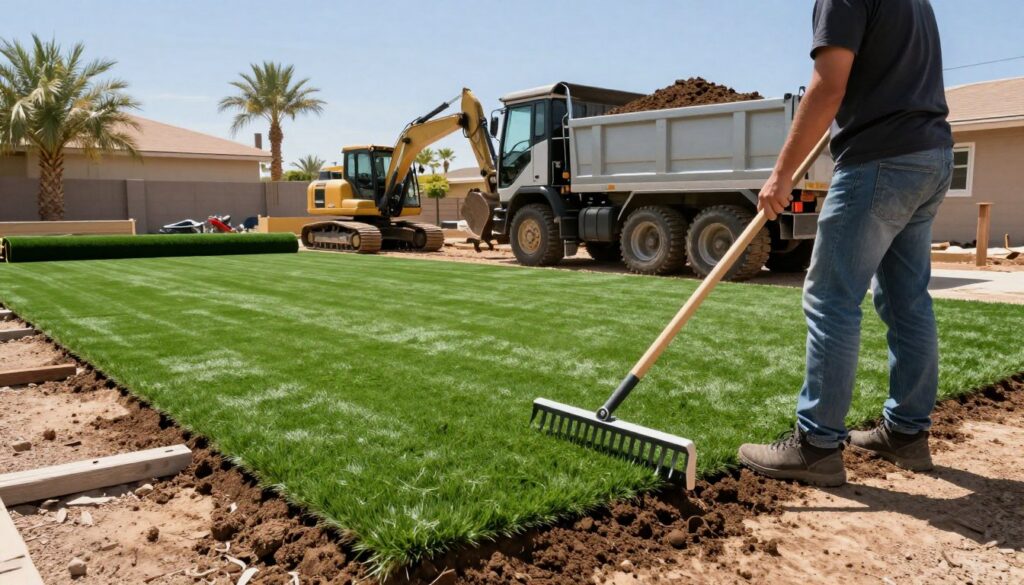
Achieving a professional-looking yard starts with a rigorous demolition of the existing landscape. This vital preparation phase ensures a stable foundation for your project. By clearing the site properly, you avoid future issues like uneven surfaces or failing seams.
Step 1: Remove Existing Grass, Soil, and Debris
First, you must remove all weeds, existing grass, and loose soil from the site. Clearing away this debris prevents organic matter from rotting under your new surface. Use a grass trimmer or shovel to clear out stubborn roots and reach a solid sub-base.
Rough grading the area helps uncover hidden obstacles like old pipes or electric lines. This step creates the necessary depth for your new base material. Always aim for a smooth, level ground before moving to the next phase.
Step 2: Cap and Modify Sprinkler Systems
You must handle your watering system before the turf goes down. If you plan to transform lawn synthetic turf, you must adjust the irrigation to fit the new layout. Proper water management prevents underground leaks and surface bubbling.
Capping Sprinklers at Pipe Level
Cap any unused sprinklers directly at the pipe level rather than the riser. This method avoids potential leaks between the riser and the main line. Be sure to backfill and mark the location of these capped pipes to avoid low spots later.
Relocating Irrigation Lines
Sometimes you need to move lines to support perimeter plants or trees. Ensure you add any necessary drainage elements to prevent water from pooling near your home foundation. A functional drainage system keeps your backyard dry and safe during heavy rain.
| Preparation Step | Priority Level | Key Goal |
|---|---|---|
| Surface Demolition | High | Clear organic material |
| Irrigation Capping | High | Prevent sub-base leaks |
| Drainage Check | Medium | Redirect water flow |
Step 3: Relocate Wiring and Electrical Components
Identify all electrical wiring and lighting systems within the project boundary. Move these components at least six to eight inches away from any hardscape or perimeter. This process keeps wires safe from the long nails used during the final installation.
Once you relocate the wires, lay them flat on the subgrade. Secure them with u-nails to keep them from shifting during the base layer application. This prevents accidental damage from shovels or heavy machinery later on.
Step 4: Install Bender Board Edging
Use a bender board to create a crisp boundary between the lawn and planting areas. This board provides a clean line and a solid edge for securing the turf. It effectively separates your grass from mulch or rock beds for a tidy look.
Secure the bender board firmly into the ground using stakes. This creates a permanent frame that keeps your base material contained. A well-installed edge ensures your project stays beautiful for many years in the Vegas sun.
Creating a Proper Base for Artificial Turf
The secret to a long-lasting Vegas lawn lies beneath the green blades. A solid foundation prevents shifting and ensures your yard looks great for years. This stage of the installation requires patience and the right tools to succeed.
Step 5: Install Weed-Block Fabric
Lay down a 3 oz non-woven weed-block fabric as your first layer. This material strengthens the base and stops roots from pushing through your grass. It also acts as a durable barrier against burrowing pests or desert rodents.
You can find more details on choosing the right ground prep for turf installation accessories to protect your project. Secure the fabric tightly to avoid wrinkles before adding your stone layers.
Step 6: Lay the Gravel and DG Mix Base Material
Now, introduce the specialized base material. Use a mixture of half-inch gravel and decomposed granite to facilitate rapid drainage. This mixture is vital for managing heavy water during the Las Vegas monsoon season.
Proper Depth and Layer Distribution
Start at the back of the area and work toward the front. Spread 3 to 4 inches of the base material in horizontal layers. Never place heavy loads on this layer before you finish the compaction process.
Creating Slope for Drainage
Carefully angle the base away from your home or patio structures. Directing water toward a specific drainage area prevents puddles from forming near your outdoor living spaces. Proper leveling ensures your artificial turf looks smooth and natural.
Step 7: Wet and Compact the Base
Lightly wet the base to help the small particles settle into place. Proper moisture prepares the ground for the heavy tools used to harden the area. This step ensures the ground stays stable under heavy foot traffic.
Vibrating and Tamping Techniques
Use a vibrating plate compactor or hand tamper to press the gravel down firmly. This creates a solid base that holds your turf nails securely over time. Any minor adjustments to the grade happen during this phase rather than later in the way of laying the grass.
Achieving a Smooth, Level Surface
Your final surface must be smooth and free of any loose rocks or debris. A water-filled roller helps achieve a level finish across the entire base. This critical material preparation ensures no lumps show through the final base layer.
Measuring, Cutting, and Laying Your Turf
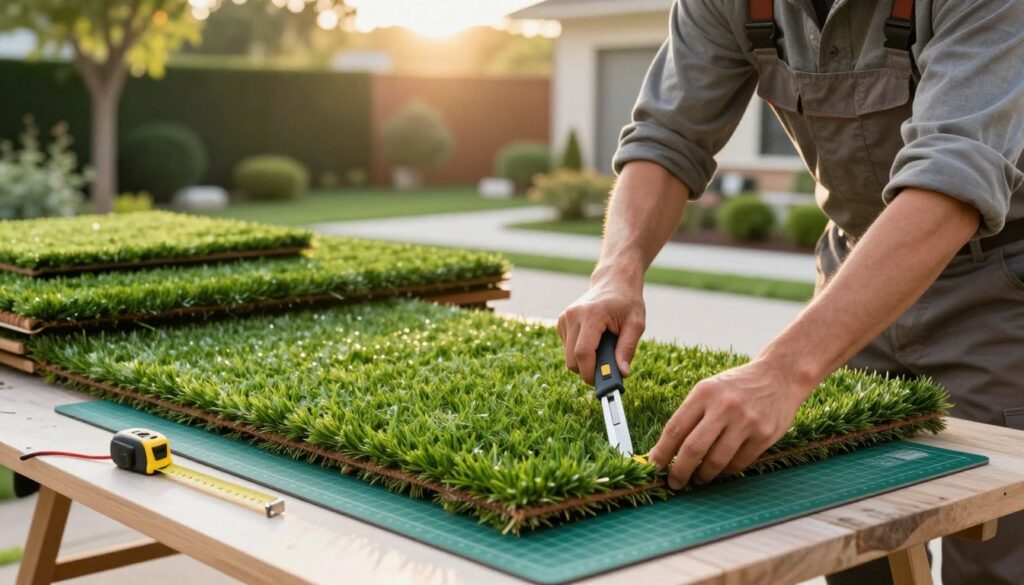
Achieving a professional look depends on how you measure and cut the material. You must focus on precision to ensure the yard looks natural and uniform. This stage requires a steady hand and a sharp eye for detail.
Step 8: Measure and Cut Turf Pieces
Carefully measure the installation area multiple times to avoid costly errors. Cut the largest pieces first to minimize waste across the landscape. You can learn more about how to install turf to get the best results for your project.
Overcutting by One Inch for Tucking
Always overcut the turf by one inch along the edges. This provides the extra material necessary for a clean tucking process. Cutting it fatter is always safer because you can trim the excess later.
Using Seaming Tools for Precision
Use specialized seaming tools to create tight, nearly invisible connections. Ensure the cutter blades are very sharp to maintain clean edges. This precision prevents the gaps that often ruin a DIY project.
Cutting Seams in S-Shapes
Cut the seam in an S-shape to avoid pieces pushing against each other. This unique shape prevents visible lines and avoids the illusion of discoloration. It allows the fibers to blend together much more naturally.
| Cutting Task | Measurement | Purpose |
|---|---|---|
| Perimeter Edge | 1 Inch Over | Allows for tucking |
| Hardscape Gap | 1/4 Inch | Clean finish |
| Seam Style | S-Shape | Hides joints |
Step 9: Roll Out and Position the Artificial Grass
Lay out the artificial grass on a flat surface before making any final moves. Measure and trim any fringes around the edges at this stage. This part of the job ensures the material is ready for permanent placement.
Ensuring Proper Grain Direction
Make sure the grain of the grass faces the same way on every piece. This ensures the yard looks uniform and mimics a real lawn perfectly. Consistent grain direction is one of the most important synthetic turf tips for homeowners.
Allowing Wrinkles to Flatten
If you see wrinkles in the artificial grass, leave it flat for several hours. The sun helps the backing relax and removes any stubborn creases. Once the step of flattening is complete, you can re-roll it for easier handling.
Securing Edges and Connecting Seams
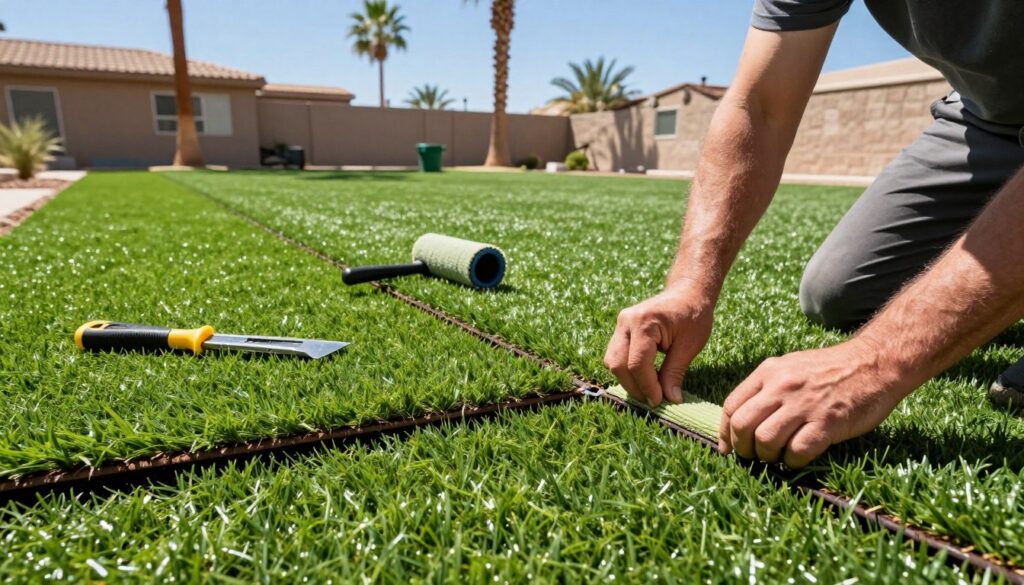
Ensuring your new lawn stays flat and secure requires careful attention to the perimeter and joints. A professional las vegas landscape design build project relies on these final anchoring steps for a long-lasting finish.
Step 10: Nail the Perimeter Edges
You must secure the perimeter edges to prevent the material from shifting over time. Fasten one side of the layout first to create an anchor point. Stretch the grass tight as you work around the rest of the boundary to eliminate wrinkles.
Using 40d Nails Every 4-6 Inches
For residential yards, place 40d or 60d nails every 4 to 6 inches along the border. Commercial sites often need a tighter spacing of 3 to 5 inches. Position each fastener about a half-inch away from the edge for the most secure grip.
Proper Nail Depth to Avoid Dimples
Drive your nails only three-quarters of the way into the ground. If you drive them too deep, you will create visible dimples or divots in the surface. Separate the blades first so the nail head hides at the base of the mat.
Step 11: Connect Turf Seams Securely
Joining two pieces requires a tight fit to make the joint look invisible. Butt the two sections together closely before choosing your fastening method. You should ensure no blades are caught underneath the seam during this process.
Using U-Nails Every Six Inches
You can use 6-inch U-nails to join a seam every six inches. As with perimeter fasteners, pull the blades apart so the U-nail sits flush against the backing. This keeps the grass blades from getting trapped under the metal.
Alternative Seam Tape Method
Another option is using a seam tape like Jiffy Seal to bridge the gap. Apply the tape lengthwise to the bottom side, leaving three inches attached and three inches exposed. Press the opposite piece firmly onto the sticky surface to lock the two pieces together.
Step 12: Tuck Edges Against Hardscape
Tucking the turf edges gives your lawn a clean edge against pavers or concrete borders. Use a metal wonder bar to push the material into the gap between the border and the base. This technique hides the backing and creates a plush, professional look.
Step 13: Secure the Field Area with Nails
The weight of the infill sand usually holds the main field in place effectively. However, you can choose the addition of extra fasteners for more stability in high-traffic zones. Space 60D nails every 12 to 24 inches throughout the field area if you need extra peace of mind.
Applying Infill Material for Turf Stability
The secret to a long-lasting lawn in Las Vegas is the right infill material. This layer provides the necessary weight to keep your yard secure and stable. It also ensures the artificial grass looks lush and stays resilient while protecting the base of the blades.
Step 14: Select the Right Infill or Durafill Sand
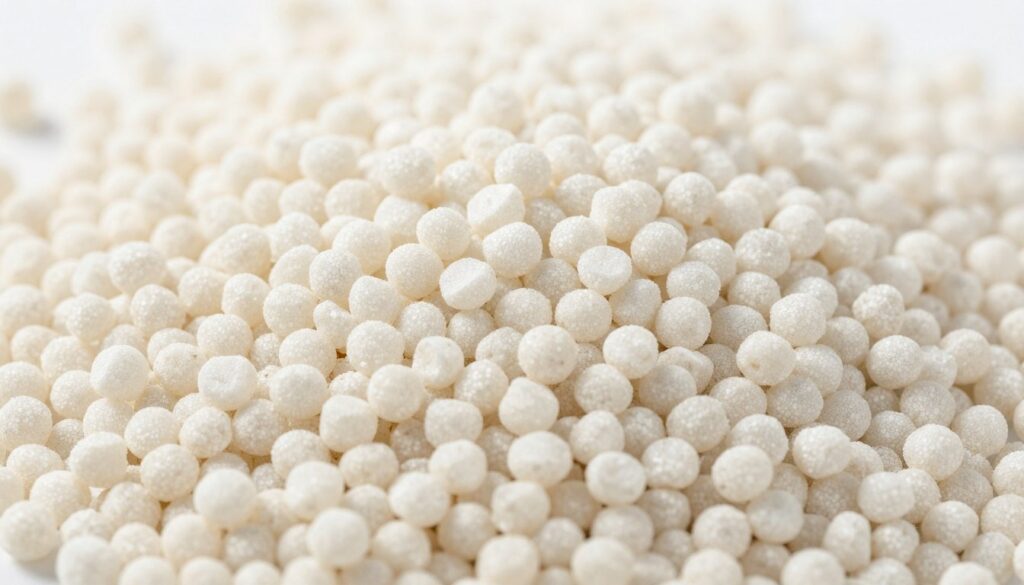
Choosing the correct artificial turf infill sand is vital for the long-term success of your project. While standard silica sand offers great stability, premium options provide additional protection for active families. You should select a product that matches your specific climate and usage needs.
Anti-Bacterial Options for Pets and Children
Durafill is a top anti-bacterial choice for households with active pets. This non-toxic sand prevents odors and stays cool for pets during the intense Las Vegas summers. It is safe for children to play on and does not absorb moisture or bacteria.
Step 15: Spread Infill Evenly with a Drop Spreader
Use a drop spreader to distribute the granules evenly across the entire turf surface. Move at a slow, steady pace to ensure coverage without overlapping your rows. This method prevents clumps and ensures the material settles deep into the grass.
Proper Distribution Techniques
Use a synthetic push broom to sweep against the grain of the lawn. This action pulls the fiber blades upright and works the material deep into the backing. A synthetic broom is the best tool to achieve a professional and uniform look.
Adding Weight and Blade Support
Adequate infill creates the weight needed to prevent the synthetic lawn from shifting over time. It supports the upright position of the fibers, maintaining a natural appearance across the entire artificial grass yard. This ballast also prevents the grass from rippling or lifting during high winds.
Final Grooming and Maintenance Tips
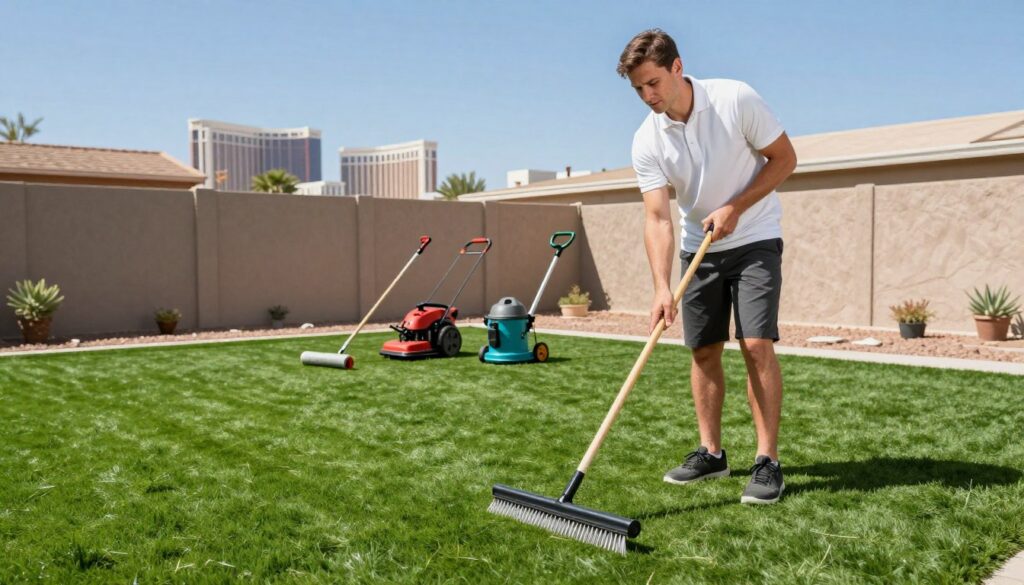
The last phase of your project transforms flat synthetic fibers into a lush, natural-looking oasis. This stage ensures your investment stays beautiful and functional for years. Consistent maintenance keeps the yard ready for family fun.
Step 16: Power Brush for Blade Elevation
Use a heavy-bristled power brush to pull against the grain of the grass blades. This initial step makes them stand upright before you apply the sand. After adding infill, brush the artificial grass again lightly to settle the granules into the base for optimal stability.
Step 17: Remove Excess Debris and Fibers
Cleaning the surface is vital for a pristine look. Remove any excess debris, cut fibers, or waste left during the installation. Sweeping the artificial grass one last time restores the upright shape and ensures the area is safe for pets.
Ongoing Maintenance for Vegas Weather
Las Vegas winds often carry dust that settles on the grass. Periodically rinse the area to remove accumulation and keep the colors vibrant. Occasional light watering during extreme heat also helps cool the artificial grass.
Proper maintenance extends the lifespan of your lawn. Use a stiff broom quarterly to redistribute shifted infill and restore blades. Promptly removing leaves and organic matter prevents staining over time.
| Maintenance Task | Frequency | Benefit |
|---|---|---|
| Power Brushing | Quarterly | Restores upright blade position |
| Water Rinsing | Bi-weekly | Removes desert dust and pollen |
| Leaf Removal | As needed | Prevents organic matter staining |
| Infill Inspection | Annually | Maintains surface stability |
Conclusion
Mastering the way you approach this 16-step artificial turf installation determines the success of your project. You must take time to install artificial turf correctly to create a durable grass field. This process keeps your lawn in great shape for many years.
A proper turf installation provides a beautiful look while saving water in the desert heat. When you landscape around a pool in Las Vegas with artificial, every part of the base construction matters. Installing artificial systems offers a green space that requires very little maintenance over time.
If you have questions or need help to install artificial turf, Taylormade Landscapes® can guide you. We can help you install artificial materials so your artificial turf stays vibrant. Completing an artificial turf installation ensures your home stays beautiful.
You can install artificial products with confidence by following our expert steps. We make installing artificial lawns easy for every homeowner. Quality turf installation is a smart investment that improves property value. Choosing the right artificial turf adds immediate curb appeal.
Your new artificial turf will stand up to the sun and heavy daily use. This artificial turf provides a safe and clean area for your children.
High-quality turf makes your entire yard shine with professional quality. Ensure your turf is clean and free of debris. Finally, your turf will perform well for a decade or more.
We love seeing every green grass blade. A lush grass patch makes a backyard feel like home. These steps guarantee your grass looks better than ever.


